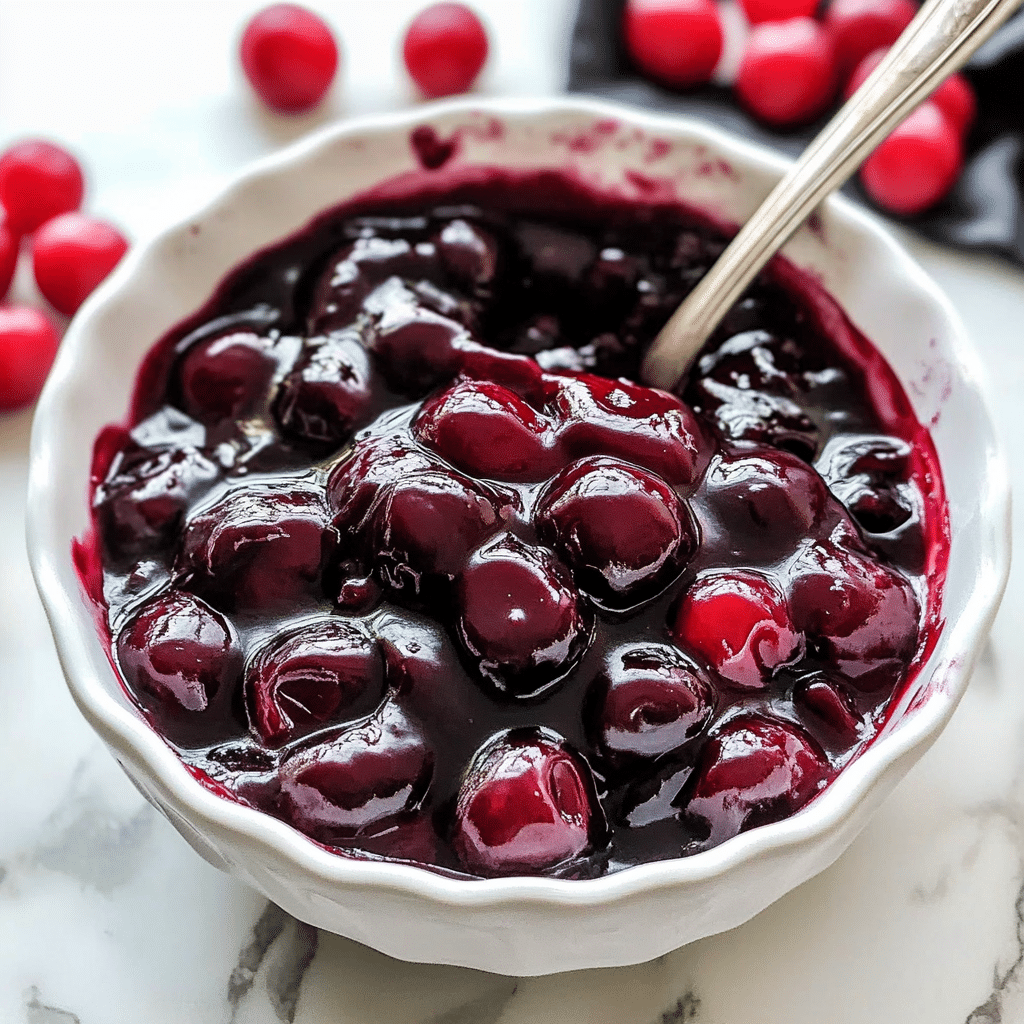
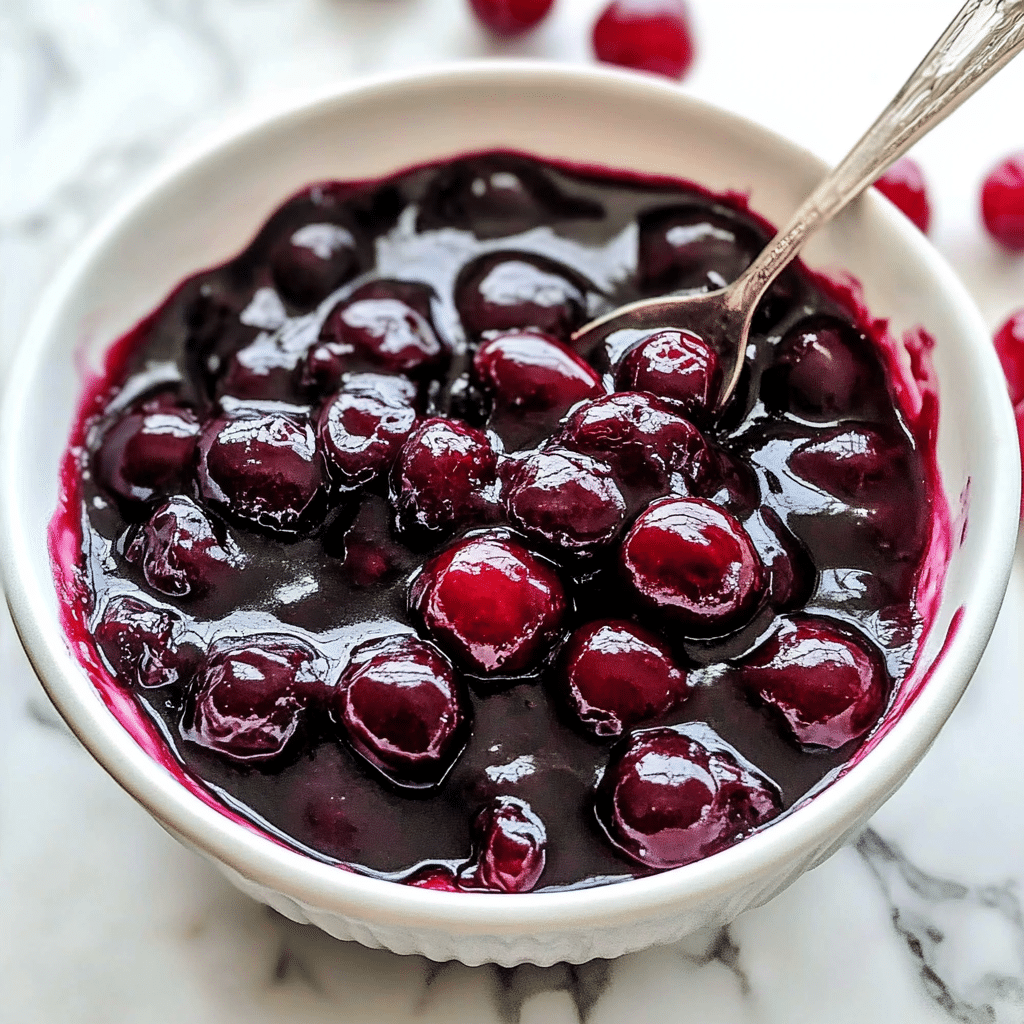
Homemade Cherry Pie Filling is a luscious, sweet, and slightly tart mixture that brings the fresh flavors of cherries right to your kitchen. Made from whole, pitted fresh or thawed frozen cherries, this filling offers the perfect balance of natural sweetness enhanced by honey and brightened with lemon juice. Using cornstarch as a thickening agent creates a smooth, glossy texture that clings beautifully to pie crust or other desserts. Whether you’re baking a classic cherry pie, topping ice cream, or using it as a sweet sauce for pancakes, this filling is versatile and easy to prepare from scratch.
Unlike store-bought fillings loaded with preservatives and artificial flavors, this homemade version allows you to control the sweetness and freshness, ensuring a more natural taste. The optional almond or vanilla extract adds a subtle depth of flavor that elevates the filling, making it truly special. Using honey instead of refined sugar provides a gentle floral sweetness and a more wholesome option. This recipe is perfect for preserving the essence of summer cherries and enjoying them year-round in your favorite desserts.
Why You’ll Love This Recipe
- Fresh and Natural: Made with real cherries and natural sweeteners.
- Customizable Sweetness: Adjust honey depending on tartness of cherries.
- Easy to Make: Minimal ingredients and simple cooking process.
- Versatile Use: Ideal for pies, tarts, pancakes, ice cream, and more.
- Better Than Store-Bought: Free of preservatives and artificial flavors.
Ingredients
Whole pitted fresh sweet cherries (or frozen, thawed, and pitted)
Honey
Freshly squeezed lemon juice
Cornstarch
Pure almond extract (optional) or vanilla extract
Variations
- Tart Cherry Version: Use tart cherries and add a bit more honey for sweetness.
- Spiced Filling: Add cinnamon or nutmeg for warmth and depth.
- Mixed Berry Filling: Combine cherries with blueberries or raspberries.
- Sugar Substitute: Use maple syrup instead of honey for a different flavor.
- Extract Options: Substitute almond extract with vanilla or cherry extract.
How to Make the Recipe
Step 1: Prepare Cherries
If using fresh cherries, pit them and measure 4 cups. If frozen, thaw and drain any excess liquid.
Step 2: Combine Ingredients
In a medium saucepan, mix cherries, honey, and lemon juice. Stir to combine.
Step 3: Thicken the Filling
In a small bowl, whisk cornstarch with a few tablespoons of water until smooth. Pour into the cherry mixture.
Step 4: Cook the Filling
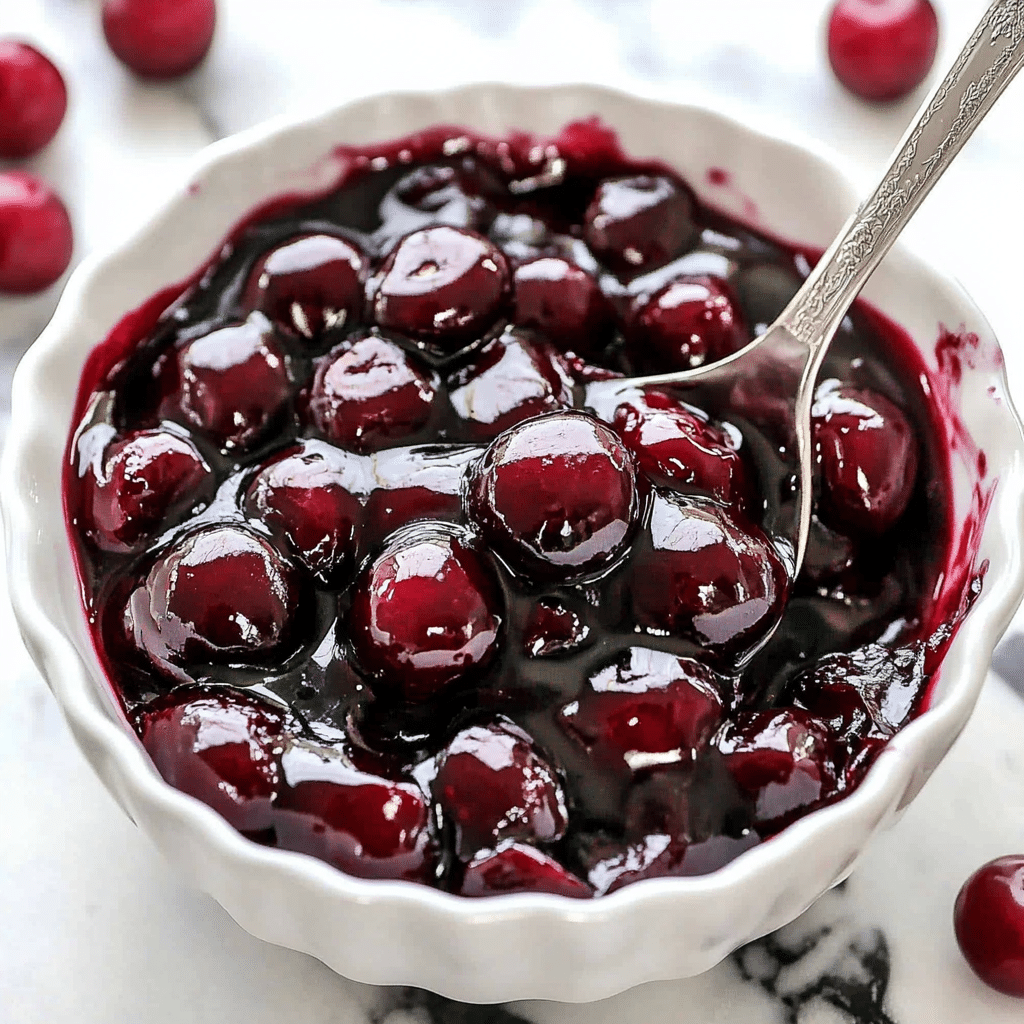
Place the saucepan over medium heat and cook, stirring constantly, until the mixture thickens and becomes glossy (about 5–7 minutes).
Step 5: Add Flavoring
Remove from heat and stir in almond or vanilla extract if using.
Step 6: Cool and Use
Allow the filling to cool before using it in your favorite recipes or storing.
Tips for Making the Recipe
- Use ripe, high-quality cherries for the best flavor.
- Stir constantly while cooking to prevent lumps.
- Adjust sweetness gradually to avoid over-sweetening.
- Let the filling cool completely to thicken fully.
- Store in sterilized jars if preserving long term.
How to Serve
Use this cherry pie filling as a classic pie filling topped with flaky crust, spoon it over cheesecake or ice cream, or serve warm as a topping for pancakes and waffles. It also works well stirred into yogurt or oatmeal for a fruity breakfast boost.
Make Ahead and Storage
Storing Leftovers
Store cherry pie filling in an airtight container in the refrigerator for up to 5 days.
Freezing
Freeze the cooled filling in freezer-safe containers for up to 3 months. Thaw overnight in the fridge before use.
Reheating
Reheat gently on the stove or in the microwave, stirring occasionally to restore a smooth texture.
FAQs
1. Can I use frozen cherries?
Yes, thaw and drain frozen cherries before using.
2. Can I use tart cherries instead of sweet?
Yes, but add more honey to balance the tartness.
3. What if I don’t have cornstarch?
You can substitute with arrowroot powder or tapioca starch.
4. Can I make this without honey?
Yes, substitute with sugar or maple syrup.
5. Is almond extract necessary?
No, it’s optional but adds a nice flavor depth. Vanilla extract works well too.
6. How thick will the filling get?
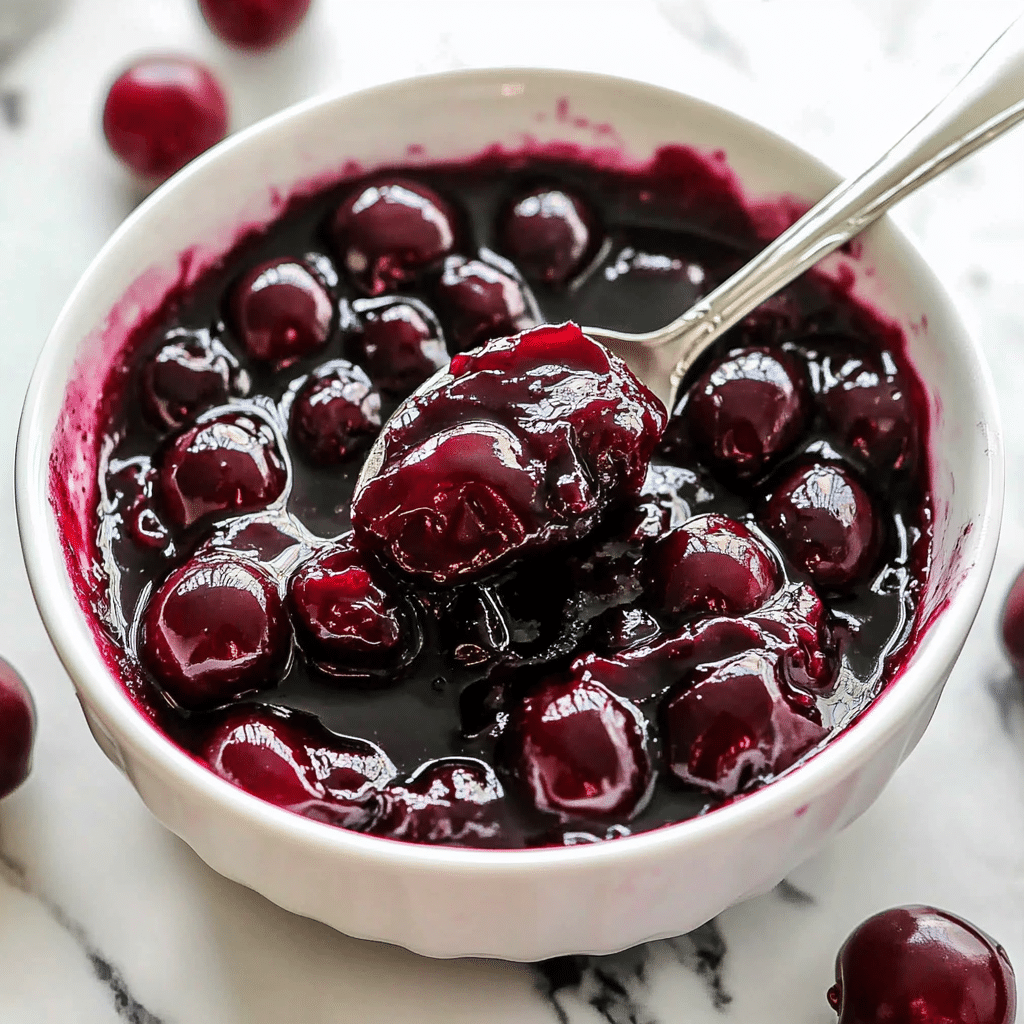
It will thicken to a glossy, syrupy consistency that holds together when cooled.
7. Can I use this filling for other desserts?
Yes, it’s great for tarts, cheesecakes, pancakes, and more.
8. How long does it keep in the fridge?
Up to 5 days in an airtight container.
9. Can I freeze leftover filling?
Yes, freeze in airtight containers for up to 3 months.
10. How do I prevent lumps in the filling?
Whisk cornstarch well with water before adding and stir constantly while cooking.
Conclusion
Homemade Cherry Pie Filling is a fresh, flavorful, and versatile addition to your dessert repertoire. With just a handful of wholesome ingredients, you can create a naturally sweet and beautifully thickened filling that surpasses any store-bought alternative. Whether you’re baking a classic pie or simply enhancing your favorite breakfast or dessert dishes, this recipe is sure to become a favorite for showcasing the wonderful taste of cherries all year round.
Print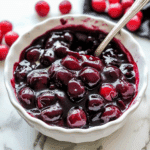
Cherry Pie Filling
- Total Time: 20 minutes
- Yield: About 3 cups filling 1x
- Diet: Gluten Free
Description
A luscious, homemade cherry pie filling bursting with fresh, sweet cherries and lightly sweetened with honey. Perfectly thickened and subtly enhanced with lemon juice and almond extract, this filling is ideal for pies, tarts, or as a topping for desserts.
Ingredients
-
4 cups whole pitted fresh sweet cherries (about 2 pounds with pits, or 1½ pounds pitted) or frozen, thawed, and pitted cherries
-
½ cup honey (adjust to taste, especially if using tart cherries)
-
1 tablespoon freshly squeezed lemon juice
-
¼ cup cornstarch
-
⅛ teaspoon pure almond extract (optional) or substitute with ¼ teaspoon pure vanilla extract
Instructions
-
In a large saucepan, combine cherries, honey, and lemon juice. Cook over medium heat, stirring occasionally, until the mixture begins to release juices and comes to a gentle simmer, about 5–7 minutes.
-
In a small bowl, whisk cornstarch with 2 tablespoons of water until smooth to create a slurry.
-
Slowly add the cornstarch slurry to the cherry mixture while stirring continuously to prevent lumps.
-
Continue cooking and stirring for 3–5 minutes until the filling thickens and becomes glossy.
-
Remove from heat and stir in almond extract or vanilla extract if using.
- Let the filling cool before using it in pies or desserts. The filling will thicken further as it cools.
Notes
-
For tarter cherries, add extra honey gradually to balance the flavor.
-
Store any leftover filling in an airtight container in the refrigerator for up to 5 days.
- This filling can be frozen for up to 3 months; thaw before use.
- Prep Time: 10 minutes
- Cook Time: 10 minutes
- Category: Dessert
- Method: Stovetop
- Cuisine: American

