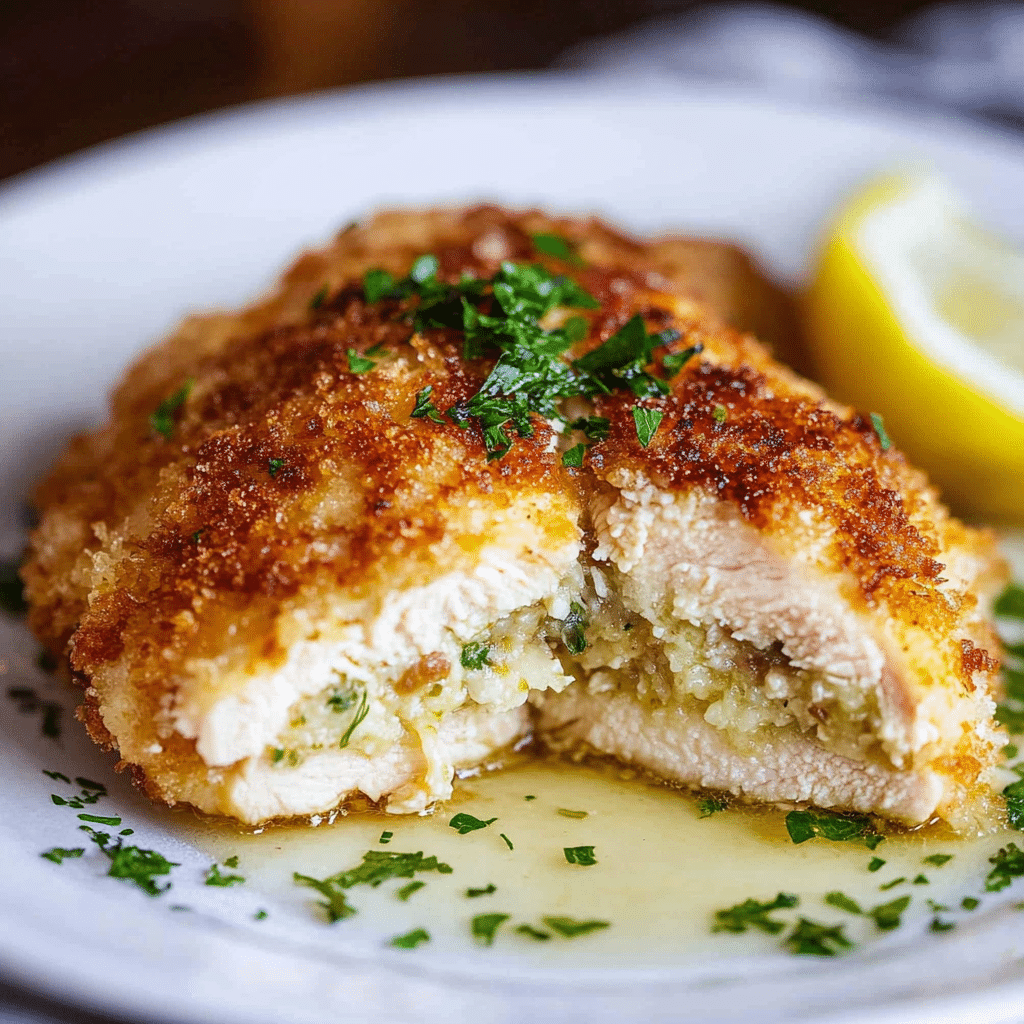
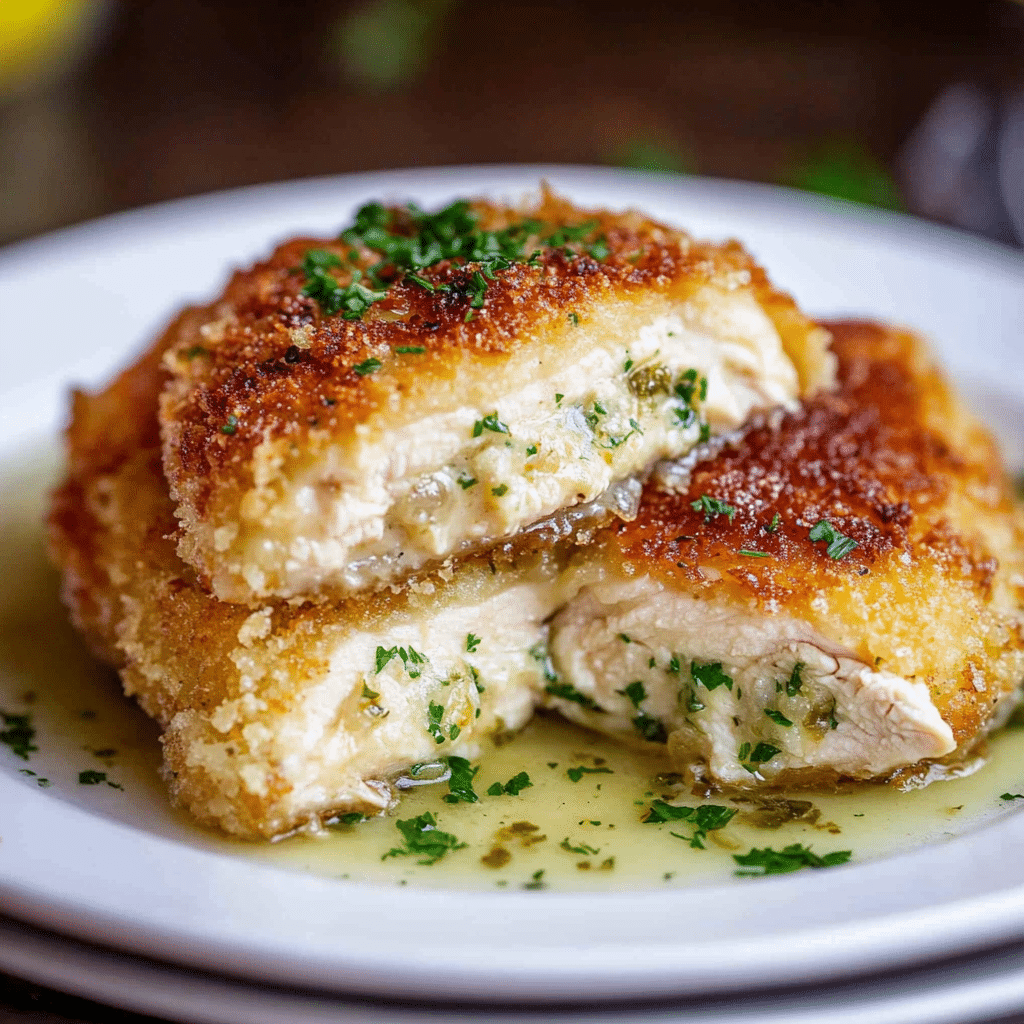
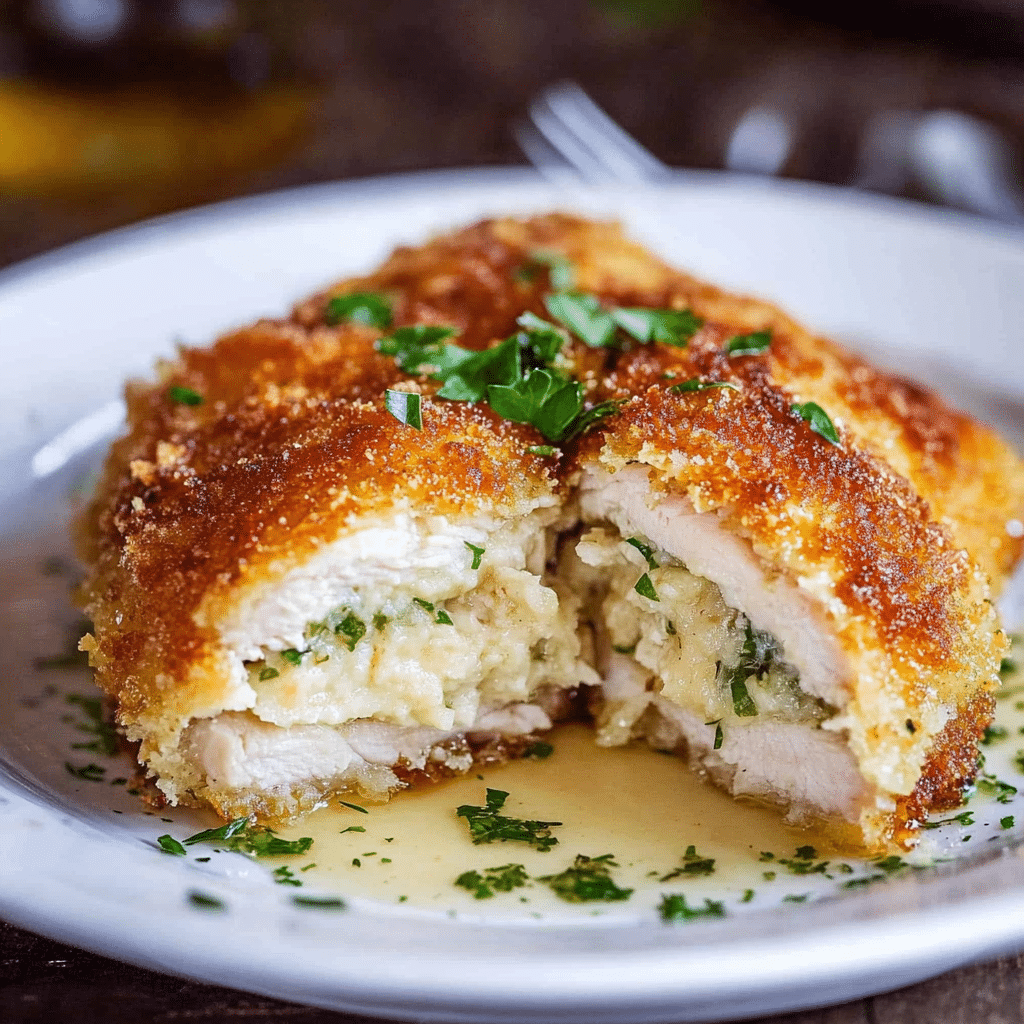
Chicken Kiev is a classic dish that features succulent chicken breasts stuffed with a rich, flavorful lemon-herb garlic butter. The chicken is coated in a crispy golden crust, and the moment you cut into it, the butter melts out, creating a mouthwatering and indulgent experience. This recipe combines simple ingredients with a few key techniques, making it a great choice for dinner parties, special occasions, or a comforting family meal. When paired with a side of vegetables or mashed potatoes, Chicken Kiev becomes a complete and satisfying meal that everyone will love.
The dish originated in Ukraine and gained popularity worldwide, becoming a staple of fine dining. The balance of flavors from the lemon, garlic, and fresh parsley in the butter elevates the richness of the chicken, creating a harmonious contrast. While it might seem complicated, making Chicken Kiev at home is easier than it sounds, and the results are truly worth it.
Why You’ll Love This Recipe
1. Deliciously Flavorful Garlic Butter
The lemon-herb garlic butter takes center stage in this recipe, with the tang of lemon and the freshness of parsley balancing the richness of the butter. It’s a decadent addition that brings the whole dish together.
2. Crispy Golden Crust
The chicken is coated in a crispy layer of Panko breadcrumbs, creating a satisfying crunch on the outside while keeping the meat tender and juicy on the inside.
3. Customizable
The filling can be adjusted to your taste preferences. If you prefer more garlic or herbs, simply increase the quantities to suit your flavor profile.
4. Impressive Presentation
When served, the Chicken Kiev has an elegant look and dramatic effect when the garlic butter oozes out, making it a perfect dish for impressing guests or celebrating a special occasion.
5. Simple Yet Elegant
Despite its impressive flavor and presentation, Chicken Kiev is made with just a few basic ingredients. It’s a straightforward recipe that looks and tastes far more complicated than it actually is.
Ingredients
For the Lemon-Herb Garlic Butter:
- Unsalted butter (room temperature)
- Garlic clove (minced)
- Lemon juice (plus extra wedges for serving)
- Fresh parsley (chopped, plus more for garnish)
- Sea salt
- Black pepper (freshly ground)
For the Chicken Kiev:
- Large chicken breasts
- Eggs (beaten)
- All-purpose flour
- Panko bread crumbs
- Salt and pepper (to taste)
- Extra light olive oil or canola oil (for sautéing)
Variations
- Herb Variations: Feel free to experiment with different herbs like thyme, rosemary, or tarragon to customize the garlic butter filling.
- Cheese Addition: For a cheesy twist, you can add a small amount of grated Parmesan or mozzarella to the garlic butter filling.
- Baked Version: While traditional Chicken Kiev is sautéed, you can bake the chicken for a lighter version. Simply coat the chicken in breadcrumbs and bake at 375°F for 25-30 minutes until golden and crispy.
How to Make the Recipe
Step 1: Prepare the Garlic Butter
In a small bowl, combine the softened butter, minced garlic, lemon juice, chopped parsley, salt, and pepper. Mix well until everything is fully incorporated. You can adjust the amount of lemon juice or garlic based on your personal preference. Once the mixture is ready, place it in the fridge to firm up slightly while you prepare the chicken.
Step 2: Prepare the Chicken
Place each chicken breast between two sheets of plastic wrap or parchment paper. Use a meat mallet to gently pound the chicken to an even thickness of about 1 inch. This ensures the chicken cooks evenly and provides room to stuff the garlic butter inside.
Step 3: Stuff the Chicken
Scoop about 2-3 tablespoons of the garlic butter mixture and place it in the center of each chicken breast. Carefully fold the edges of the chicken around the butter to form a sealed packet. You may need to secure the chicken with toothpicks to hold it together.
Step 4: Bread the Chicken
Set up a breading station: in one shallow bowl, place the flour; in another, the beaten eggs; and in a third, the Panko breadcrumbs mixed with a pinch of salt and pepper. Dredge each stuffed chicken breast in the flour, then dip it into the egg, and finally coat it in the Panko breadcrumbs.
Step 5: Sauté the Chicken
Heat a generous amount of oil in a large skillet over medium heat. Carefully add the breaded chicken breasts to the pan and sauté for about 4-5 minutes per side, until the chicken is golden brown and the internal temperature reaches 165°F. If necessary, cook the chicken in batches to avoid overcrowding the pan.
Step 6: Serve
Once cooked, remove the toothpicks from the chicken. Serve the Chicken Kiev with extra lemon wedges and garnish with fresh parsley. Enjoy the rich garlic butter filling and crispy exterior!

Tips for Making the Recipe
- Make sure the butter is soft enough to mix easily but not too melted, so it stays inside the chicken when cooking.
- Don’t skip the step of pounding the chicken to an even thickness; it ensures the chicken cooks through evenly and prevents the butter from leaking out.
- If you prefer a lighter version, you can bake the breaded chicken in the oven instead of frying it.
- Allow the butter to firm up in the fridge before using it. This will make it easier to stuff inside the chicken and prevent it from melting too quickly during cooking.
How to Serve
Chicken Kiev is delicious when paired with sides that can complement its rich flavors. Some great options include roasted vegetables, mashed potatoes, a fresh green salad, or even some sautéed spinach. The tangy lemon wedges that accompany the dish also work well with any side, adding an extra zing to balance out the richness of the garlic butter.
Make Ahead and Storage
Storing Leftovers
Store any leftover Chicken Kiev in an airtight container in the refrigerator for up to 2-3 days. When reheating, make sure to warm it up gently in the oven or skillet to keep the crispy crust intact.
Freezing
You can freeze Chicken Kiev before cooking. After breading the chicken, wrap it tightly in plastic wrap and foil, then store it in a freezer-safe bag for up to 3 months. To cook from frozen, bake the chicken at 375°F for 30-35 minutes or until golden and fully cooked.
Reheating
Reheat leftover Chicken Kiev in the oven at 350°F for about 10-15 minutes, or until it is heated through. If you have frozen Chicken Kiev, it’s best to thaw it in the fridge overnight before reheating to ensure even cooking.

FAQs
1. Can I use chicken thighs instead of chicken breasts?
Yes, boneless, skinless chicken thighs can be used for a juicier, more flavorful variation, though the cooking time may vary slightly.
2. How can I make sure the butter doesn’t leak out during cooking?
Be sure to seal the chicken tightly and refrigerate it after stuffing to help the butter firm up before cooking. You can also secure the chicken with toothpicks.
3. Can I bake Chicken Kiev instead of frying it?
Yes, baking is an option. Place the breaded chicken on a baking sheet and bake at 375°F for 25-30 minutes until golden brown and fully cooked.
4. Can I make the garlic butter ahead of time?
Yes, you can prepare the garlic butter mixture in advance and refrigerate it for up to 2-3 days. It will firm up and be easier to handle when stuffing the chicken.
5. What can I serve with Chicken Kiev?
Roasted vegetables, mashed potatoes, a green salad, or sautéed spinach all make excellent side dishes to complement Chicken Kiev.
6. Is it necessary to use Panko breadcrumbs?
Panko breadcrumbs are recommended for their extra crunch and texture, but regular breadcrumbs can also be used if preferred.
7. How can I tell when the chicken is cooked through?
The chicken is done when it reaches an internal temperature of 165°F. A meat thermometer will help you achieve perfect results.
8. Can I use margarine instead of butter for the filling?
For the best flavor and texture, it’s recommended to use unsalted butter, but margarine could be substituted if necessary.
9. Can I freeze Chicken Kiev after it’s been cooked?
While it’s best to freeze Chicken Kiev before cooking, you can freeze cooked leftovers. Just ensure they are stored in an airtight container and reheat properly.
10. Can I make Chicken Kiev without eggs for a vegan option?
For a vegan version, use a plant-based egg substitute, such as flax eggs or chickpea flour, and substitute the chicken with a plant-based protein like tofu or seitan.
Conclusion
Chicken Kiev is a comforting and elegant dish that is sure to become a favorite. With its crispy exterior, tender chicken, and flavorful lemon-herb garlic butter filling, it’s a dish that both looks and tastes impressive. Whether you’re preparing it for a weeknight dinner or a special occasion, this recipe will certainly wow your guests and leave everyone wanting more. With a few simple steps, you can enjoy the flavors of this classic dish right in your own kitchen.
Print
Chicken Kiev
- Total Time: 35 minutes
- Yield: 6 servings 1x
Description
Classic Chicken Kiev features tender chicken breasts stuffed with a flavorful lemon-herb garlic butter, then coated in a crispy Panko breadcrumb crust and sautéed to perfection. This dish is a showstopper that’s as delicious as it is impressive, perfect for any dinner party or special occasion.
Ingredients
-
For the Lemon-Herb Garlic Butter:
-
6 tablespoons unsalted butter, room temperature
-
1 large garlic clove, minced
-
1 tablespoon lemon juice, plus more lemon wedges to serve
-
2 tablespoons chopped fresh parsley, plus more for garnish
-
1/2 teaspoon salt (sea salt recommended)
-
1/2 teaspoon black pepper, freshly ground
For the Chicken Kiev:
-
3 large chicken breasts (about 12 oz each)
-
2 eggs, beaten
-
1/2 cup all-purpose flour
-
2 cups Panko breadcrumbs
-
1/2 teaspoon salt and pepper (or adjusted to taste)
-
Extra light olive oil or canola oil, for sautéing
-
Instructions
-
Prepare the Lemon-Herb Garlic Butter:
-
In a bowl, mix the unsalted butter, minced garlic, lemon juice, chopped parsley, salt, and black pepper until well combined.
-
Shape the mixture into a log or roll using plastic wrap and refrigerate for at least 30 minutes until firm.
-
-
Prepare the Chicken Breasts:
-
Butterfly the chicken breasts by slicing them horizontally, ensuring you don’t cut all the way through. Open the breasts like a book.
-
Flatten the chicken with a meat mallet or rolling pin to an even thickness of about 1/2 inch.
-
-
Stuff the Chicken:
-
Cut the chilled lemon-herb garlic butter into 3 portions.
-
Place each portion in the center of the chicken breast and fold the chicken over to enclose the butter. Secure the edges with toothpicks to prevent the butter from spilling out while cooking.
-
-
Bread the Chicken:
-
Set up a breading station: one bowl with flour, one with beaten eggs, and one with Panko breadcrumbs.
-
Season the flour and breadcrumbs with salt and pepper to taste.
-
Dredge each stuffed chicken breast first in the flour, then dip it in the egg, and finally coat it with Panko breadcrumbs, pressing gently to ensure the breadcrumbs adhere well.
-
-
Cook the Chicken:
-
Heat the olive oil or canola oil in a large skillet over medium heat.
-
Fry the chicken breasts for 3-4 minutes per side until golden brown and crispy.
-
Reduce the heat to low, cover, and cook for another 5-7 minutes to ensure the chicken is fully cooked through and reaches an internal temperature of 165°F (74°C).
-
-
Serve:
-
Remove the toothpicks before serving.
-
Garnish with extra fresh parsley and lemon wedges to squeeze over the top.
-
Notes
-
Make sure the garlic butter is well-chilled before stuffing the chicken to prevent it from leaking during cooking.
-
You can prepare the lemon-herb garlic butter in advance and store it in the refrigerator for a couple of days.
-
If you prefer, you can bake the chicken in a preheated oven at 375°F (190°C) for about 20 minutes after browning it in the skillet.
- Prep Time: 15 minutes
- Cook Time: 20 minutes
- Category: Main Course
- Method: Pan-Frying
- Cuisine: Russian (with influences from French cuisine)

