
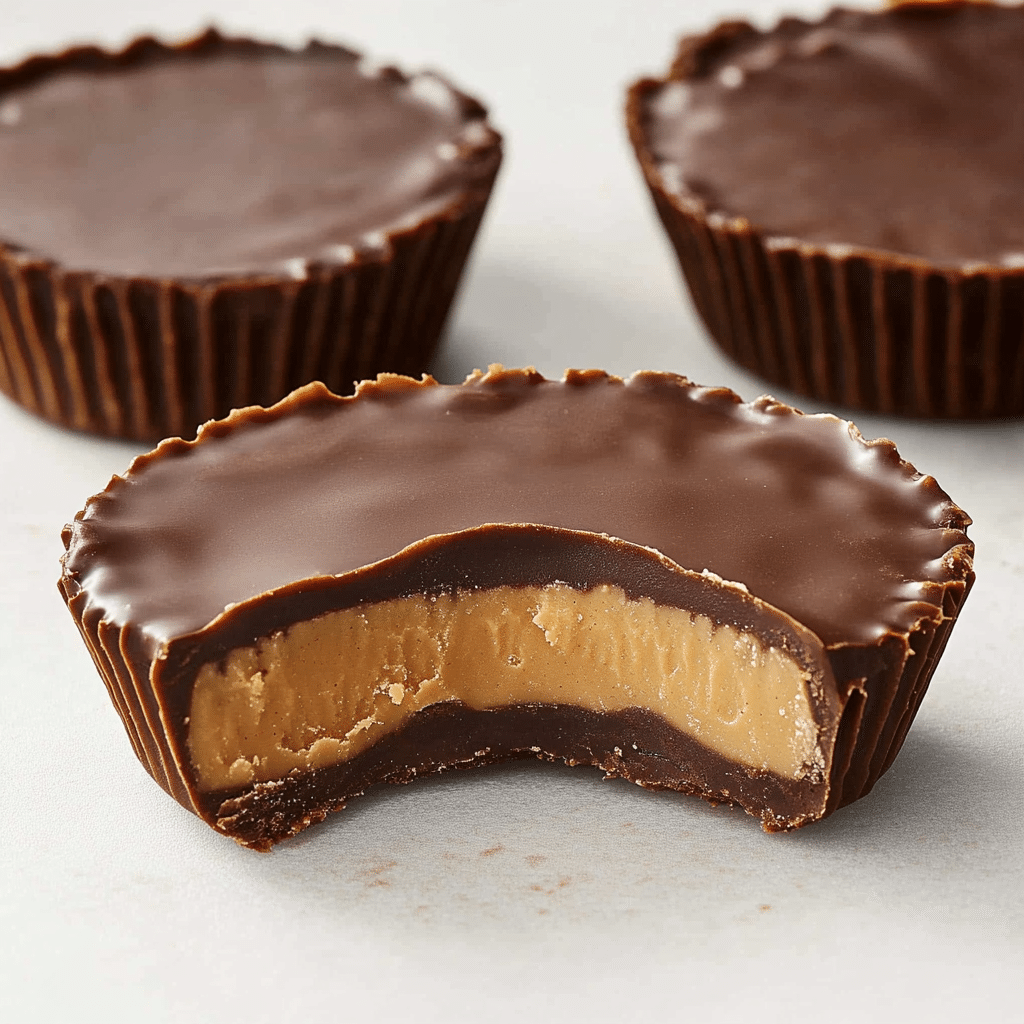
Peanut Butter Cups are a classic candy that combines the rich and creamy flavor of peanut butter with a smooth, sweet chocolate coating. These homemade treats are an easy and indulgent way to enjoy your favorite combination of peanut butter and chocolate in the comfort of your own kitchen. Perfect for parties, gifting, or just a sweet snack, these Peanut Butter Cups will satisfy your cravings with their irresistible flavor and texture.
With only four ingredients, you can make a batch of these delicious cups in no time, and they’re customizable to suit your preferences. Whether you’re a peanut butter enthusiast or a chocolate lover, these cups will leave you coming back for more. Their rich, creamy peanut butter filling, paired with the silky chocolate, makes for the ultimate indulgence.
Why You’ll Love This Recipe
- Simple Ingredients: Only four basic ingredients are needed, making this recipe easy and straightforward.
- Customizable: You can adjust the sweetness, chocolate type, or even add extras like crushed nuts or a sprinkle of sea salt on top.
- Perfect for Gifting: These homemade peanut butter cups make a thoughtful, delicious gift for family and friends.
- No Baking Required: These cups are quick to prepare and don’t require any baking, so you can enjoy them with minimal effort.
- Ideal for Peanut Butter Lovers: The creamy peanut butter center provides a rich, satisfying flavor that pairs perfectly with the chocolate.

Ingredients
For the Peanut Butter Filling:
- ½ cup (129 g) creamy peanut butter
- 3 tablespoons unsalted butter, room temperature
- ¼ cup (31 g) confectioners’ sugar
For the Chocolate Coating:
- 2 cups (364 g) milk chocolate chips
Variations
- Dark Chocolate Coating: For a richer flavor, try using dark chocolate chips instead of milk chocolate.
- Crunchy Peanut Butter: For added texture, you can use crunchy peanut butter in place of creamy peanut butter.
- Add-Ins: If you prefer, you can add chopped nuts like almonds, peanuts, or even toffee bits to the peanut butter filling for an extra crunch.
- Peanut Butter and White Chocolate: Use white chocolate chips for the coating to create a sweet contrast with the peanut butter filling.
How to Make the Recipe
Step 1: Prepare the Peanut Butter Filling
In a medium bowl, combine the creamy peanut butter, softened butter, and confectioners’ sugar. Stir until the mixture is smooth and well combined.
Step 2: Form the Peanut Butter Cups
Line a muffin tin with paper cupcake liners. Scoop about 1 tablespoon of the peanut butter mixture and press it into the bottom of each liner. Flatten the peanut butter layer so it covers the bottom evenly.
Step 3: Melt the Chocolate
In a microwave-safe bowl, melt the milk chocolate chips in 20-second intervals, stirring between each, until the chocolate is smooth and fully melted. Alternatively, you can melt the chocolate using a double boiler on the stove.
Step 4: Coat the Peanut Butter
Spoon about 1 to 2 tablespoons of the melted chocolate over the peanut butter layer in each liner, spreading it evenly to cover the peanut butter. Tap the muffin tin lightly on the counter to level the chocolate.
Step 5: Chill and Set
Place the muffin tin in the refrigerator for at least 30 minutes, or until the chocolate has fully hardened and the cups have set.
Step 6: Serve and Enjoy
Once the chocolate is firm, remove the peanut butter cups from the muffin tin and enjoy. Store any leftovers in an airtight container in the refrigerator for up to one week.
Tips for Making the Recipe
- Room Temperature Ingredients: Make sure the butter is at room temperature before mixing it with the peanut butter. This will ensure a smooth, creamy filling.
- Melting Chocolate: Be careful not to overheat the chocolate. Stir it every 20 seconds while melting to avoid burning.
- Chill Time: Be sure to give the peanut butter cups enough time to chill so the chocolate hardens properly.
- Use a Spoon: If you don’t have a muffin tin, you can use a spoon to form the cups on a parchment-lined baking sheet. Just ensure the peanut butter mixture is well-packed.
How to Serve
- As a Sweet Snack: Peanut Butter Cups are perfect for satisfying your chocolate and peanut butter cravings as a quick snack.
- For Special Occasions: These treats make excellent additions to parties, gift baskets, or holiday gatherings.
- For Gifting: Package the cups in a decorative box with a ribbon for a homemade gift that’s sure to be loved.
Make Ahead and Storage
Storing Leftovers
Store the peanut butter cups in an airtight container in the refrigerator for up to one week. They will stay fresh and maintain their texture.
Freezing
For longer storage, you can freeze the peanut butter cups for up to 3 months. Place them in a single layer on a baking sheet, freeze until solid, then transfer to a freezer-safe bag or container. Thaw in the refrigerator before serving.
Reheating
There’s no need to reheat these cups, but if you prefer them at room temperature, leave them out for 10-15 minutes before serving.
FAQs
1. Can I use a different type of peanut butter?
Yes, you can use crunchy peanut butter if you prefer a bit of texture in your peanut butter cups.
2. Can I use dark chocolate instead of milk chocolate?
Absolutely! Dark chocolate can be used for a richer, less sweet flavor.
3. Do I need to use cupcake liners?
Cupcake liners are helpful for easy removal, but if you don’t have them, you can also use parchment paper or simply make free-form cups.
4. How do I prevent the chocolate from cracking when I take a bite?
Make sure to chill the peanut butter cups thoroughly before removing them from the tin, as this helps the chocolate harden and avoid cracking.
5. Can I add nuts to the peanut butter filling?
Yes, adding chopped nuts to the peanut butter mixture can add texture and flavor. Try peanuts, almonds, or cashews for variety.
6. How long do these last in the fridge?
Peanut Butter Cups will stay fresh for up to one week in the refrigerator if stored in an airtight container.
7. Can I freeze these peanut butter cups?
Yes, you can freeze them for up to 3 months. Just make sure to store them in a freezer-safe container or bag.
8. Can I make these without sugar?
You can try using a sugar substitute like powdered erythritol or stevia, but the texture may differ slightly.
9. Can I use vegan chocolate for the coating?
Yes, you can use dairy-free or vegan chocolate chips if you prefer a dairy-free version of these peanut butter cups.
10. Can I make these ahead of time for a party?
Yes, these peanut butter cups can be made ahead of time and stored in the refrigerator for up to a week, making them perfect for prepping ahead of a gathering.
Conclusion
Peanut Butter Cups are a delightful treat that offers the perfect balance of creamy peanut butter and sweet, smooth chocolate. With just four simple ingredients and minimal preparation, these homemade cups are an easy way to satisfy your cravings. Whether you’re making them for yourself, sharing them with friends, or gifting them to someone special, these delicious peanut butter cups are sure to be a hit!
Print
Peanut Butter Cups
- Total Time: 20 minutes
- Yield: 10 peanut butter cups 1x
- Diet: Vegetarian
Description
These homemade Peanut Butter Cups are a delicious combination of creamy peanut butter filling and rich milk chocolate coating. Simple to make, these treats are the perfect bite-sized indulgence for anyone who loves the classic chocolate and peanut butter pairing!
Ingredients
-
1/2 cup (129 g) creamy peanut butter
-
3 tablespoons unsalted butter (room temperature)
-
1/4 cup (31 g) confectioners’ sugar
- 2 cups (364 g) milk chocolate chips
Instructions
-
Prepare the Peanut Butter Filling:
In a medium bowl, combine the creamy peanut butter and softened butter. Mix until smooth and well combined.
Add the confectioners’ sugar and stir until the mixture is thick and smooth. Set aside. -
Melt the Chocolate:
In a microwave-safe bowl, melt the milk chocolate chips in 20-second intervals, stirring in between until the chocolate is fully melted and smooth. Alternatively, you can melt the chocolate using a double boiler on the stove. -
Assemble the Peanut Butter Cups:
Line a muffin tin with cupcake liners.
Spoon a small amount (about 1 tablespoon) of melted chocolate into the bottom of each liner. Use the back of the spoon to spread it into an even layer.
Place the muffin tin in the refrigerator for about 10 minutes, or until the chocolate has firmed up slightly. -
Add the Peanut Butter Layer:
Once the chocolate layer has set, scoop about 1 tablespoon of the peanut butter mixture and form it into a small, flat disk. Place each disk of peanut butter on top of the chilled chocolate layer in each muffin liner. -
Top with More Chocolate:
Spoon another tablespoon of melted chocolate over the peanut butter layer, covering it completely. Use the back of the spoon to smooth the chocolate out evenly. -
Chill the Peanut Butter Cups:
Place the muffin tin in the refrigerator for about 1 hour, or until the chocolate has fully set and hardened. - Serve:
Once the chocolate is firm, remove the peanut butter cups from the muffin tin and peel away the cupcake liners. Enjoy your homemade peanut butter cups!
Notes
-
For a firmer filling, you can refrigerate the peanut butter mixture before assembling the cups.
- These peanut butter cups can be stored in an airtight container in the refrigerator for up to a week.
- Prep Time: 10 minutes
- Cook Time: 10 minutes
- Category: Dessert
- Method: No-Bake
- Cuisine: American