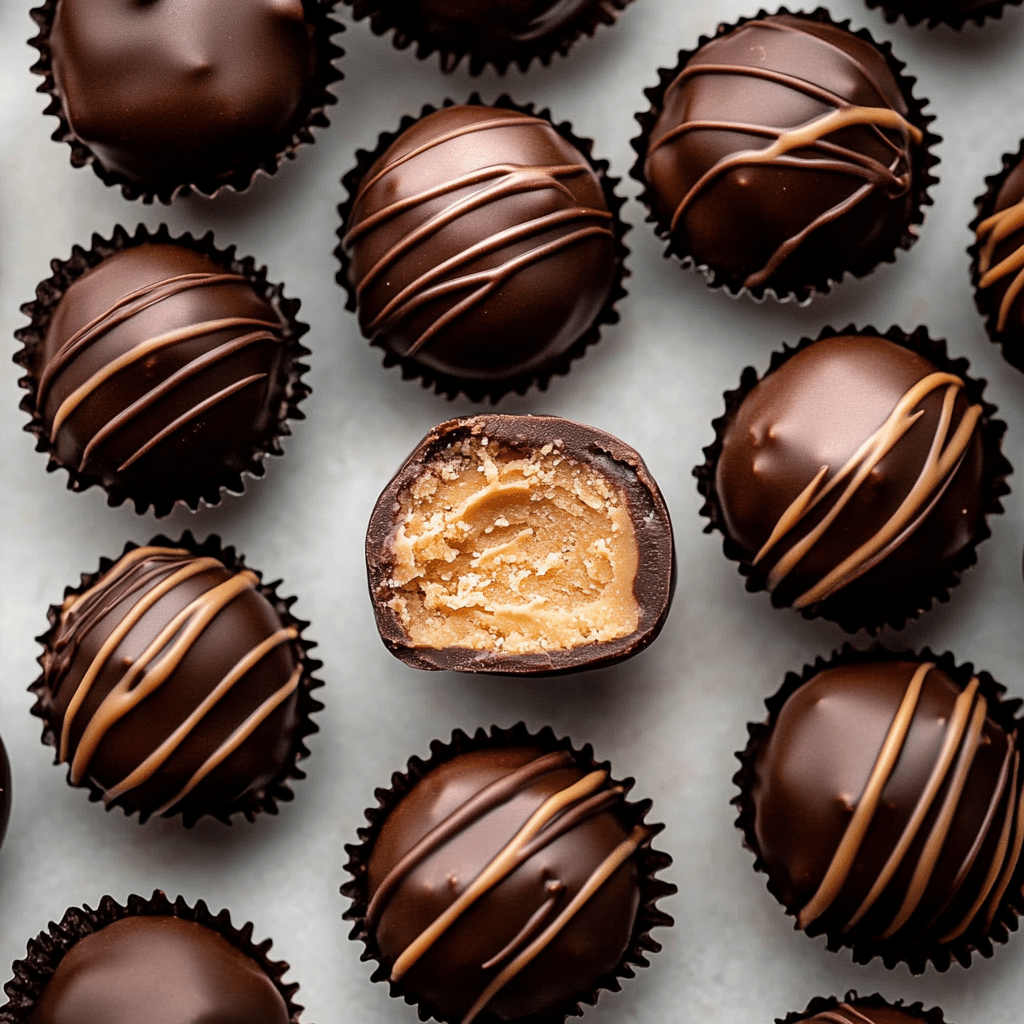
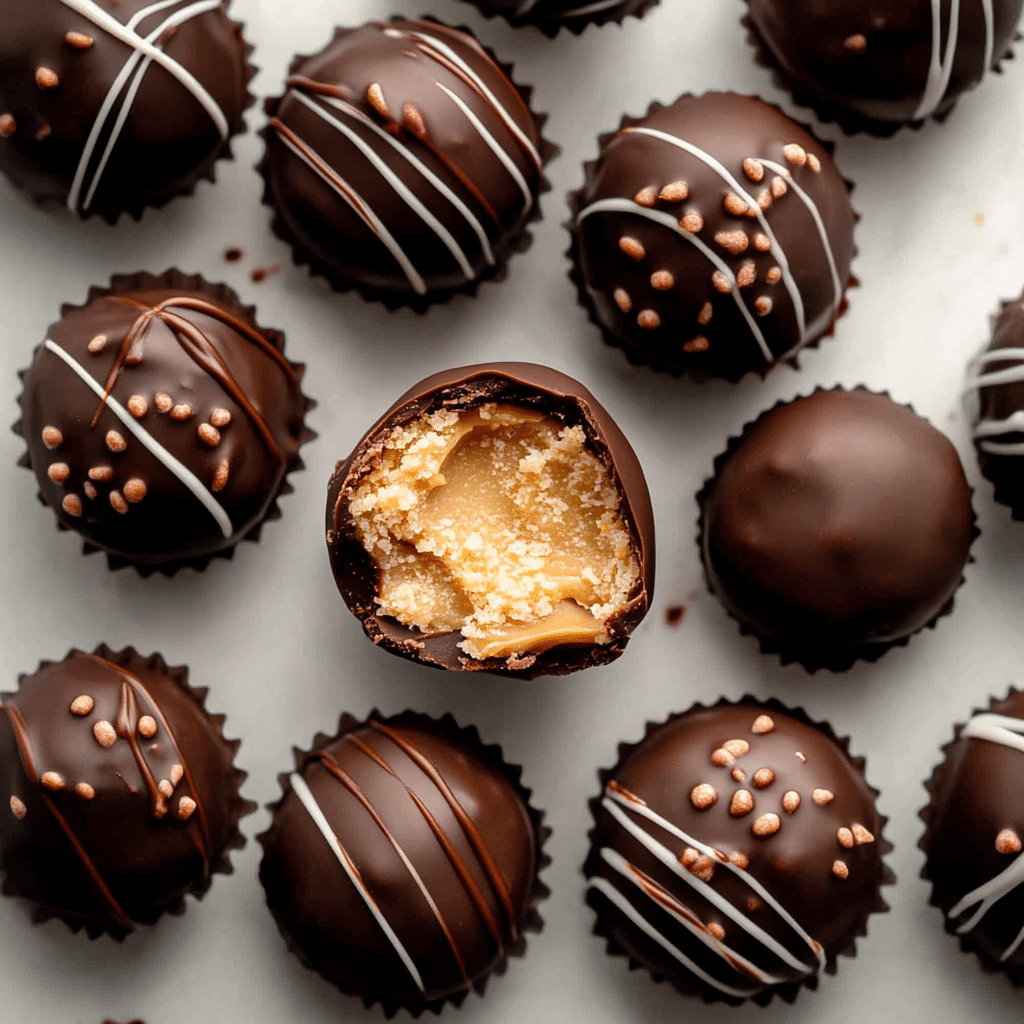
Peanut Butter Truffles are an irresistible, bite-sized treat that combines the rich, creamy goodness of peanut butter with a smooth chocolate coating. These homemade truffles are incredibly easy to make, with just a handful of ingredients, and are sure to satisfy your sweet tooth. Whether you’re hosting a gathering, looking for a holiday treat, or simply craving a sweet snack, these truffles will hit the spot every time.
The combination of creamy peanut butter and a dark chocolate coating makes these truffles a perfect balance of sweet and salty. These rich, indulgent bites are great for gifting or enjoying with family and friends. Plus, they require no baking and come together in less than an hour, making them a fantastic no-fuss dessert option.
Why You’ll Love This Recipe
- Quick and Easy: These truffles require no baking and come together in just a few simple steps.
- Perfect for Peanut Butter Lovers: With a rich, creamy peanut butter center, these truffles are ideal for anyone who loves the flavor of peanut butter.
- Decadent Chocolate Coating: The dark chocolate coating adds a smooth, rich contrast to the peanut butter filling, making every bite irresistible.
- Customizable: You can adjust the sweetness or saltiness to your liking and even add your favorite toppings or sprinkles.
- Perfect for Gifting: These truffles make a lovely homemade gift for friends, family, or as a treat for special occasions.
Ingredients
For the Peanut Butter Filling
- ½ cup creamy peanut butter (Jiff brand is preferred)
- 4 tbsp unsalted butter, softened
- ½ tsp vanilla extract
- ½ tsp salt (or more to taste)
- 1 ¼ cups powdered sugar (no need to sift)
For the Coating
- 8 ounces dark chocolate chips (Neste’s Dark Chocolate Morsels are recommended)
- 2 tbsp coconut oil (solid at room temperature)
Variations
- Milk Chocolate Coating: If you prefer a sweeter, less bitter chocolate, use milk chocolate chips instead of dark chocolate.
- Add Ins: You can mix in crushed nuts, such as chopped peanuts or almonds, into the peanut butter filling for added texture.
- Dipped in White Chocolate: For a different flavor profile, try dipping your truffles in white chocolate instead of dark chocolate for a creamy, sweet contrast.
- Salted Topping: Sprinkle a small pinch of flaky sea salt on top of each truffle before the chocolate hardens for a sweet-salty finish.
How to Make the Recipe
Step 1: Make the Peanut Butter Filling
In a medium bowl, combine the creamy peanut butter, softened butter, vanilla extract, and salt. Stir until well combined. Gradually add the powdered sugar, mixing continuously until the mixture forms a thick, smooth dough-like consistency.
Step 2: Form the Truffles
Scoop out tablespoon-sized portions of the peanut butter mixture and roll them into balls using your hands. Place the peanut butter balls onto a parchment-lined baking sheet, leaving space between each truffle. Once all the truffles are formed, refrigerate them for at least 30 minutes to firm up.
Step 3: Prepare the Chocolate Coating
While the truffles are chilling, melt the dark chocolate chips and coconut oil together. You can do this by placing the chocolate and coconut oil in a microwave-safe bowl and microwaving in 20-second intervals, stirring between each interval until fully melted and smooth. Alternatively, you can melt the chocolate and coconut oil in a double boiler on the stove.
Step 4: Coat the Truffles
Once the peanut butter balls are firm, dip each one into the melted chocolate, using a fork to lift them out and letting any excess chocolate drip off. Return the coated truffles to the parchment-lined baking sheet. Repeat with the remaining truffles.
Step 5: Let the Chocolate Harden
Allow the chocolate coating to set by placing the truffles in the refrigerator for at least 15 minutes, or until the chocolate is fully hardened.
Step 6: Serve and Enjoy
Once the chocolate has hardened, your peanut butter truffles are ready to serve. Enjoy them right away, or store them in an airtight container in the refrigerator for up to a week.
Tips for Making the Recipe
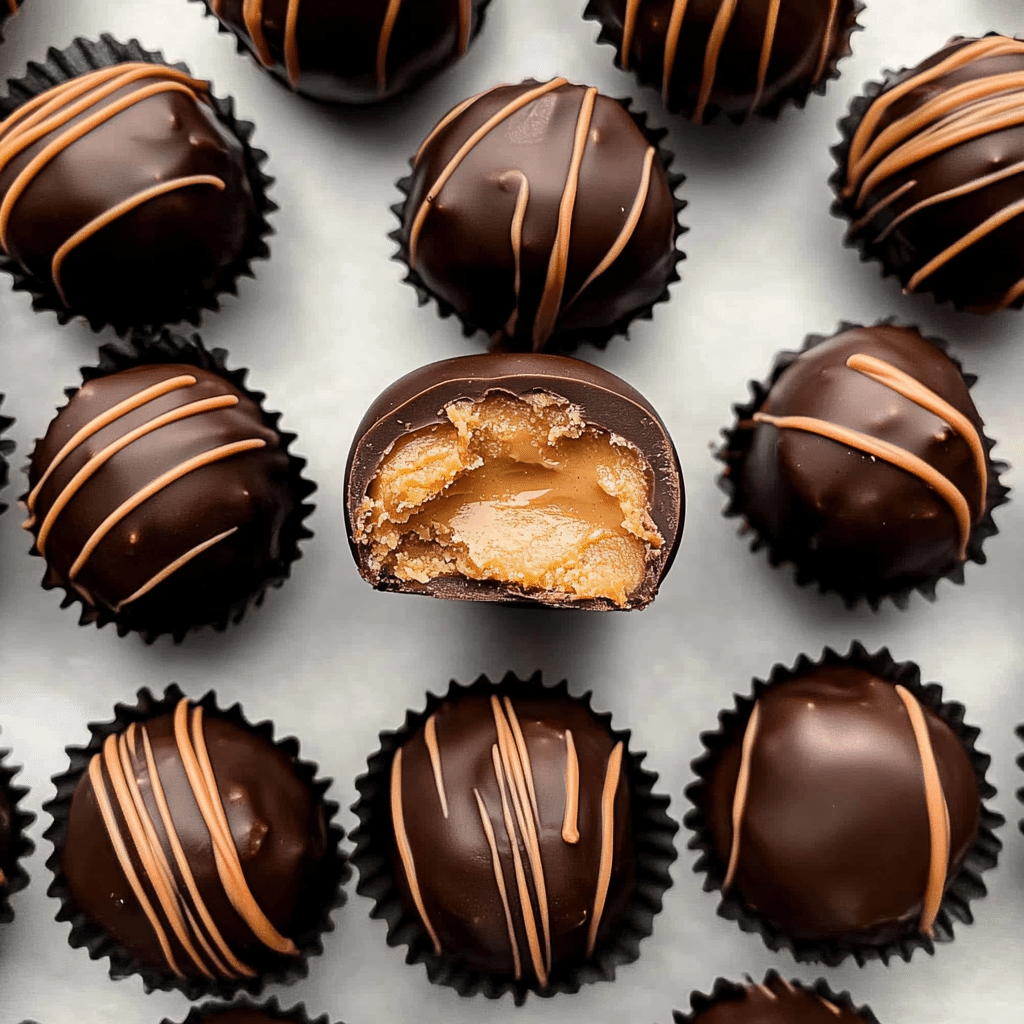
- Chill the Peanut Butter Balls: Chilling the peanut butter filling before coating them in chocolate makes the truffles easier to handle and ensures the chocolate coating stays intact.
- Use Room Temperature Ingredients: Softening the butter before mixing will help create a smooth filling.
- Melting Chocolate: Be careful not to overheat the chocolate. Melt it slowly in the microwave or over a double boiler to prevent it from burning or seizing up.
- Add Some Texture: For extra crunch, try adding crushed peanuts to the peanut butter mixture before rolling it into balls.
How to Serve
- As a Party Treat: These truffles are perfect for parties, holidays, or special occasions. Serve them in small paper cups for a fun and elegant touch.
- For a Cozy Snack: Enjoy these truffles on a chilly day with a hot cup of coffee or tea.
- Gifting: Package them in a cute box or jar with a ribbon for a homemade gift that’s sure to be appreciated.
Make Ahead and Storage
Storing Leftovers
Store the peanut butter truffles in an airtight container in the refrigerator for up to 1 week. They’ll stay fresh and maintain their texture.
Freezing
These truffles freeze well! Place them in a single layer on a baking sheet and freeze them until solid. Then, transfer them to a freezer-safe bag or container for up to 3 months. Thaw in the refrigerator before serving.
Reheating
If you prefer warm truffles, microwave them for 10-15 seconds, but be sure not to overheat them so the chocolate doesn’t melt again.
FAQs
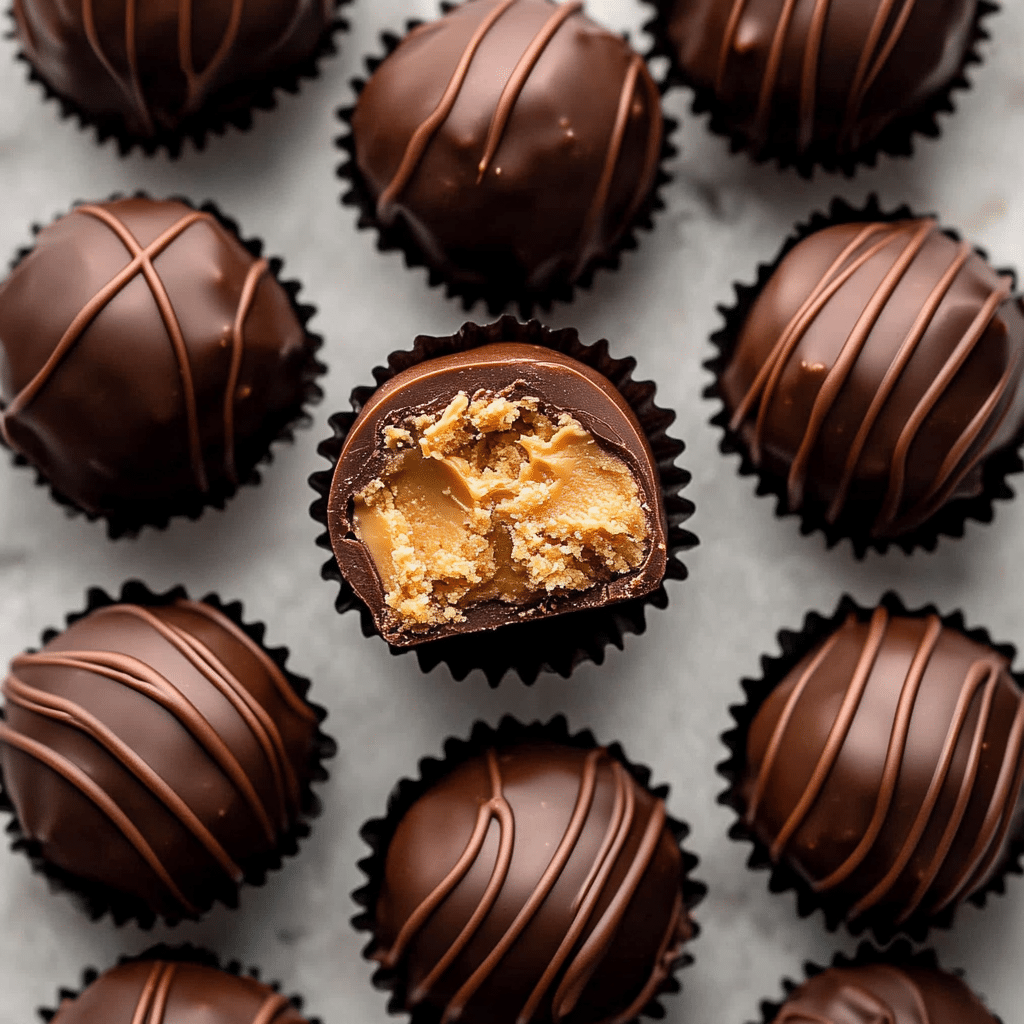
1. Can I use crunchy peanut butter instead of creamy?
Yes, you can use crunchy peanut butter for a bit more texture in the filling.
2. Can I use a different type of chocolate?
Yes, you can use milk chocolate or white chocolate if you prefer a sweeter coating.
3. How long should I refrigerate the peanut butter balls?
Refrigerating for at least 30 minutes will help firm them up and make them easier to coat.
4. Can I make these without coconut oil?
Yes, you can omit the coconut oil, but it helps give the chocolate a smoother texture and shine.
5. Can I add other mix-ins to the peanut butter filling?
Absolutely! You can mix in crushed cookies, mini chocolate chips, or other nuts to customize the flavor.
6. Can I use a chocolate coating other than chips?
Yes, you can use chocolate melting wafers or baking chocolate if you prefer. Just ensure they melt smoothly.
7. How can I make the chocolate coating shiny?
Adding coconut oil to the chocolate helps give it a glossy finish. You can also use tempered chocolate for a more professional shine.
8. Can I freeze the peanut butter truffles?
Yes, you can freeze these truffles for up to 3 months. Just store them in an airtight container or freezer-safe bag.
9. How do I prevent the chocolate from cracking?
Be sure to let the chocolate cool slightly before dipping and avoid over-chilling the truffles, as this can cause the chocolate to crack.
10. Can I use a different fat in the chocolate coating?
Yes, you can use vegetable oil or butter in place of coconut oil if needed.
Conclusion
Peanut Butter Truffles are a deliciously decadent treat that combines creamy peanut butter and smooth dark chocolate for a bite-sized indulgence. Whether you’re making them for a holiday, a special event, or just because, these truffles are sure to be a hit. With their rich flavor, simple ingredients, and easy preparation, they’re a must-try for peanut butter and chocolate lovers alike.
Print
Peanut Butter Truffles
- Total Time: 20 minutes
- Yield: 20 truffles 1x
- Diet: Vegetarian
Description
These rich and creamy Peanut Butter Truffles are a decadent treat that combines the smooth, nutty flavor of peanut butter with a silky dark chocolate coating. Perfect for gifting or enjoying as a sweet indulgence during any occasion!
Ingredients
For the Peanut Butter Center
-
1/2 cup creamy peanut butter (Jif preferred)
-
4 tbsp unsalted butter (softened)
-
1/2 tsp vanilla extract
-
1/2 tsp salt (or more to taste)
-
1 1/4 cup powdered sugar (no need to sift)
For the Coating
-
8 ounces dark chocolate chips (Neste’s Dark Chocolate Morsels recommended)
-
2 tbsp coconut oil (solid at room temperature)
Instructions
-
Prepare the Peanut Butter Center:
In a medium bowl, combine the creamy peanut butter, softened butter, vanilla extract, and salt. Mix until smooth and fully incorporated.
Gradually add the powdered sugar and stir until the mixture becomes thick and dough-like. -
Form the Truffles:
Scoop out small portions of the peanut butter mixture and roll them into balls, about 1 inch in diameter. Place the truffles onto a parchment-lined baking sheet or plate.
Once all the truffles are shaped, place the baking sheet in the freezer for about 30 minutes to set. -
Prepare the Chocolate Coating:
In a microwave-safe bowl, melt the dark chocolate chips and coconut oil together. Microwave in 20-second intervals, stirring between each, until the chocolate is completely smooth and melted. -
Coat the Truffles:
Remove the peanut butter balls from the freezer. Using a fork or skewer, dip each truffle into the melted chocolate, ensuring it is fully coated. Gently tap the fork on the side of the bowl to remove excess chocolate, then place the truffle back on the parchment-lined sheet. -
Let the Chocolate Set:
Once all the truffles are coated, refrigerate them for at least 30 minutes, or until the chocolate coating is firm. - Serve:
Once the truffles are set, serve them chilled or at room temperature. Enjoy your rich, creamy peanut butter truffles!
Notes
-
If you prefer a sweeter peanut butter center, you can adjust the amount of powdered sugar to taste.
-
These truffles make a great gift when packaged in decorative boxes or bags.
- You can also use milk chocolate or white chocolate for the coating if preferred.
- Prep Time: 15 minutes
- Cook Time: 5 minutes
- Category: Dessert
- Method: No-Bake
- Cuisine: American

