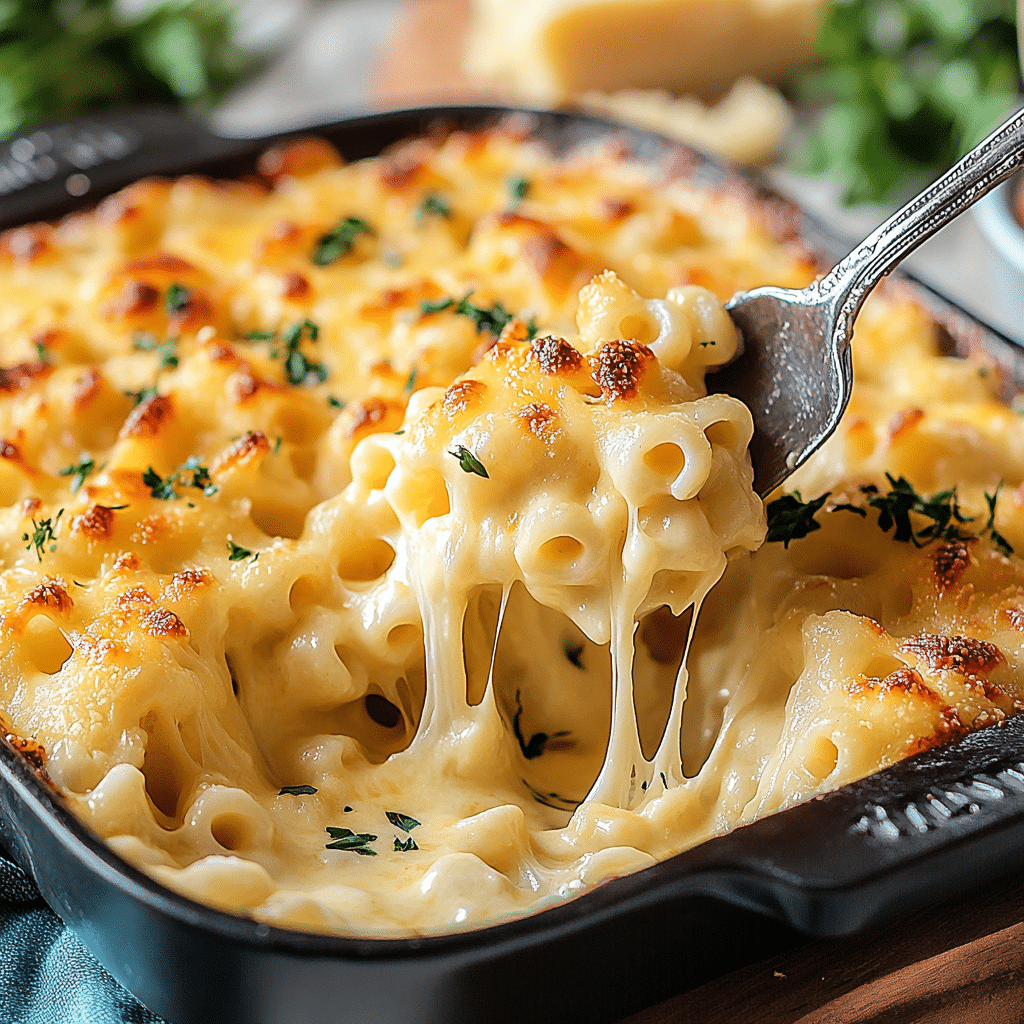
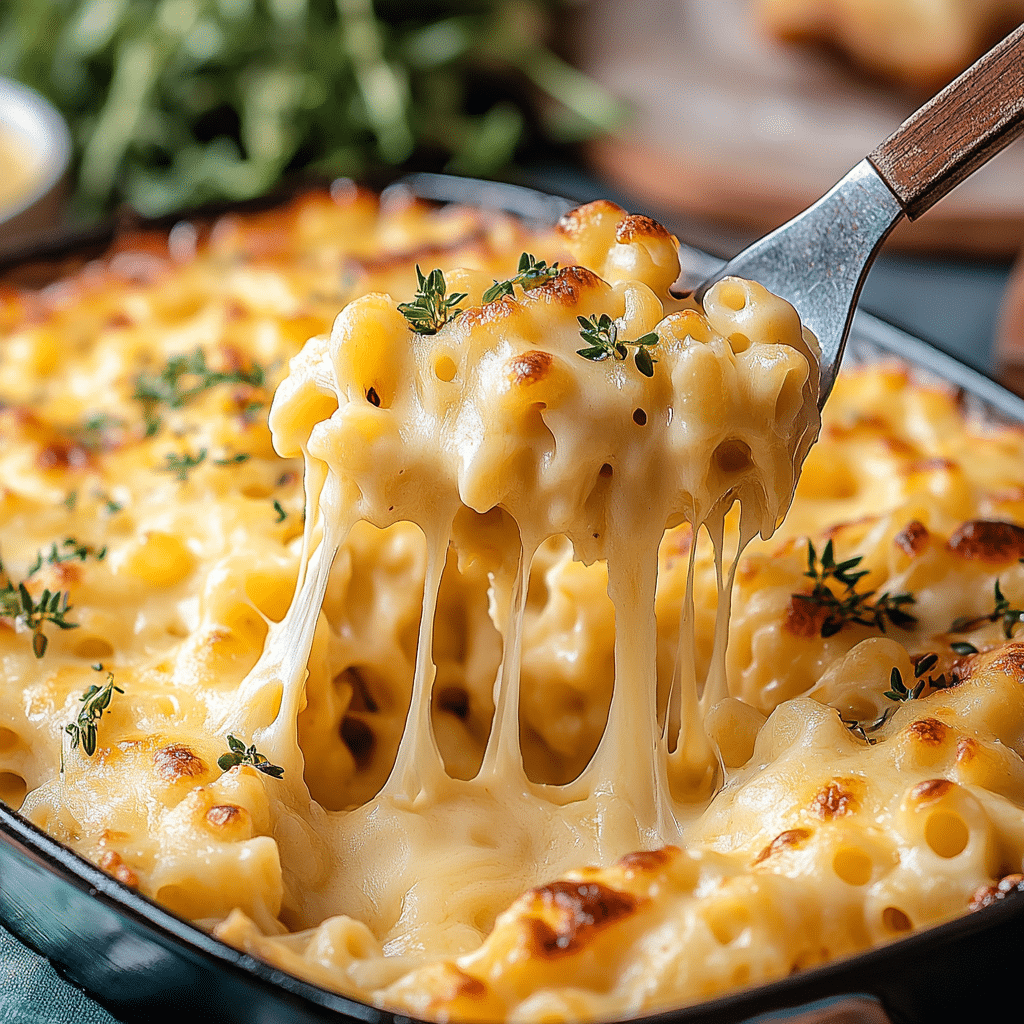
Mac and cheese is a classic comfort food that has captured hearts around the world. With so many variations and methods of preparation, it’s always exciting when a new twist on this beloved dish goes viral. Tini’s Viral TikTok Mac and Cheese Recipe has quickly become a fan favorite for its rich, creamy texture and flavorful combination of cheeses. The unique blend of sharp cheddar, mozzarella, and parmesan creates a velvety smooth sauce that coats each bite of elbow macaroni. Adding a touch of sour cream and garlic powder elevates the flavor profile, while the optional breadcrumbs give the dish a delightful crunch when broiled. Whether you’re making it for a cozy weeknight dinner or sharing it with friends at a gathering, this mac and cheese is sure to impress. Follow along with this recipe for a simple, delicious dish that’s perfect for any occasion.
Why You’ll Love This Recipe
1. Rich and Creamy Flavor
The blend of sharp cheddar, mozzarella, and parmesan creates a decadent sauce that will leave your taste buds craving more. The addition of sour cream gives the dish an extra creamy texture.
2. Quick and Easy
With simple ingredients and straightforward instructions, this mac and cheese comes together quickly—making it a perfect weeknight dinner or last-minute party dish.
3. Customizable
The recipe allows for variations and the option to add breadcrumbs for a crunchy topping, making it adaptable to different preferences.
4. Comfort Food at Its Best
There’s nothing quite like mac and cheese to provide that warm, satisfying feeling, and this recipe delivers exactly that.
5. TikTok Fame
This recipe gained viral status for good reason—it’s the ultimate mac and cheese experience, loved by home cooks and TikTok users alike.
Ingredients
- Elbow macaroni
- Unsalted butter
- All-purpose flour
- Whole milk
- Sharp cheddar cheese
- Mozzarella cheese
- Parmesan cheese
- Sour cream
- Garlic powder
- Salt
- Pepper
- Breadcrumbs (optional)
Variations
- Spicy Mac and Cheese: Add a pinch of cayenne pepper or some finely chopped jalapeños for an extra kick.
- Bacon Mac and Cheese: Incorporate crumbled cooked bacon into the sauce for a smoky flavor.
- Vegetarian Mac and Cheese: Skip the meat toppings and load it with vegetables like spinach, mushrooms, or roasted tomatoes.
- Gluten-Free Version: Substitute regular elbow macaroni with gluten-free pasta to make it suitable for those with gluten sensitivities.
- Vegan Mac and Cheese: Use plant-based butter, dairy-free milk, and vegan cheese alternatives for a vegan-friendly option.
How to Make the Recipe
Step 1: Cook the Macaroni
Begin by cooking the elbow macaroni according to the package instructions. Drain the pasta and set it aside.
Step 2: Make the Roux
In a saucepan, melt the butter over medium heat. Once melted, whisk in the all-purpose flour and cook for about 2 minutes to create a roux. This will help thicken the sauce.
Step 3: Add Milk
Slowly add the whole milk to the roux while whisking constantly. Continue to whisk until the mixture thickens, which should take a couple of minutes.
Step 4: Add the Cheeses
Stir in the cheddar, mozzarella, and parmesan cheeses. Keep stirring until the cheeses melt completely and the sauce becomes smooth and creamy.
Step 5: Season the Sauce
Add the sour cream, garlic powder, salt, and pepper to the cheese sauce. Stir well to combine all the ingredients.
Step 6: Combine Pasta and Sauce
Add the cooked macaroni to the cheese sauce and stir to coat all the pasta with the creamy mixture.
Step 7: Add Breadcrumbs (Optional)
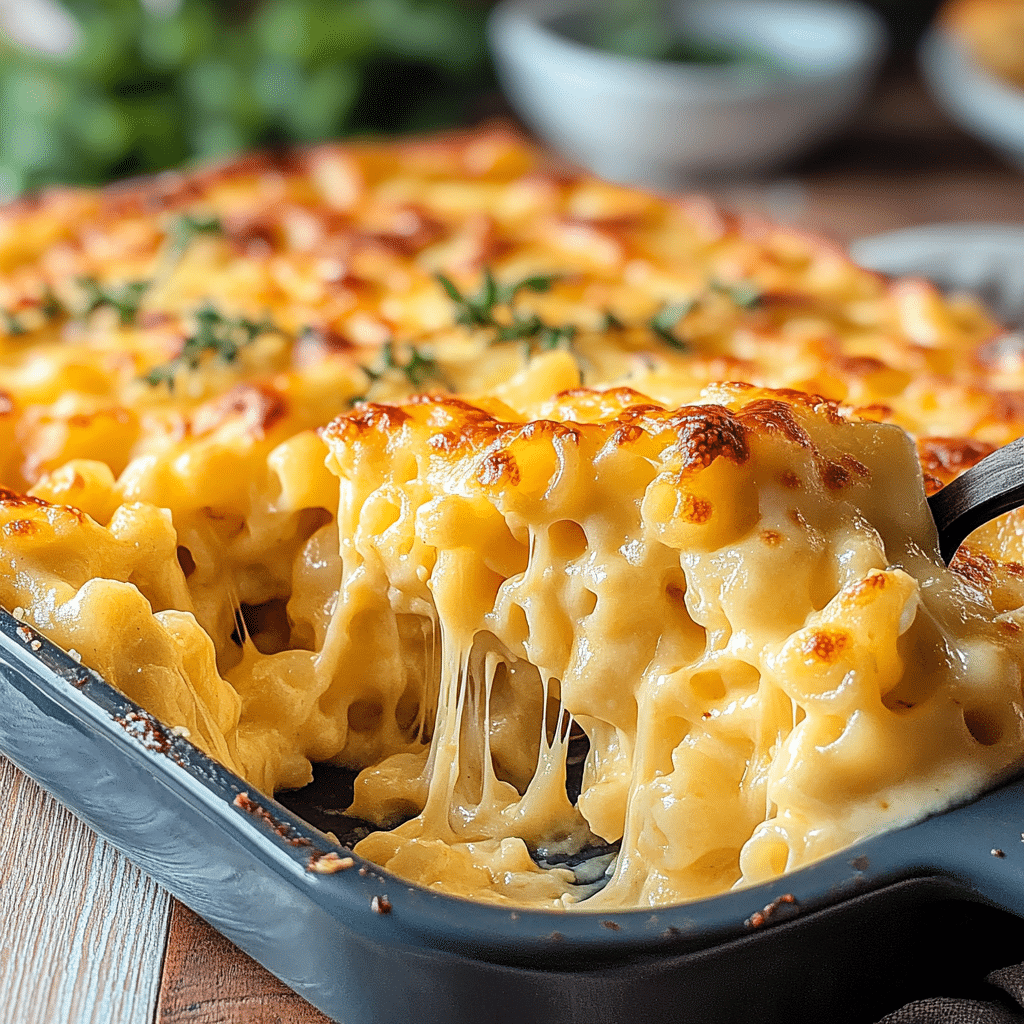
For a crunchy topping, sprinkle breadcrumbs over the mac and cheese. Broil the dish in the oven for 2-3 minutes, or until the breadcrumbs are golden brown.
Tips for Making the Recipe
- For the creamiest sauce, make sure to gradually add the milk and whisk constantly to avoid lumps.
- If the sauce is too thick, you can add a little more milk to reach your desired consistency.
- To prevent the cheese from clumping, ensure the milk is warm when you add it to the roux.
- Use freshly grated cheese for the best melt and texture.
- Don’t skip the broiling step if you want that delicious crunchy topping from the breadcrumbs.
How to Serve
This mac and cheese is the perfect side dish for any meal or can be enjoyed as a main course. Serve it alongside roasted vegetables, grilled chicken, or even a simple salad to balance the richness of the dish. You can also sprinkle additional herbs or a drizzle of hot sauce on top for an extra burst of flavor.
Make Ahead and Storage
Storing Leftovers
Store any leftover mac and cheese in an airtight container in the fridge for up to 3 days. Reheat in the microwave or on the stove with a splash of milk to restore its creamy texture.
Freezing
You can freeze mac and cheese for up to 3 months. Let it cool completely before transferring it to a freezer-safe container. To reheat, thaw overnight in the fridge and bake in the oven at 350°F until heated through.
Reheating
When reheating, add a little milk to keep the sauce creamy. If using the oven, cover the dish with foil to prevent it from drying out.
FAQs
1. Can I use a different type of pasta?
Yes, you can substitute elbow macaroni with other pasta shapes like shells or penne.
2. Can I use a different type of cheese?
Feel free to experiment with different cheeses like gouda, fontina, or even a mild cheddar for a unique twist.
3. Can I make this recipe ahead of time?
Yes, you can prepare the mac and cheese in advance and store it in the fridge. Simply reheat when ready to serve.
4. Can I make it gluten-free?
Yes, use gluten-free pasta and make sure all the other ingredients are gluten-free.
5. How can I make this recipe spicier?
Add cayenne pepper or chopped jalapeños to the sauce for an extra spicy kick.
6. Is it possible to make this vegan?
Yes, use dairy-free cheese, plant-based butter, and non-dairy milk to make this dish vegan-friendly.
7. What’s the best way to store leftovers?
Keep leftovers in an airtight container in the fridge for up to 3 days.
8. Can I freeze mac and cheese?
Yes, mac and cheese can be frozen for up to 3 months. Be sure to cool it completely before freezing.
9. Can I make this dish without breadcrumbs?
Yes, the breadcrumbs are optional, and you can skip them if you prefer a smoother texture.
10. How can I make my mac and cheese extra creamy?
Add more milk or a little extra sour cream to achieve an ultra-creamy texture.
Conclusion
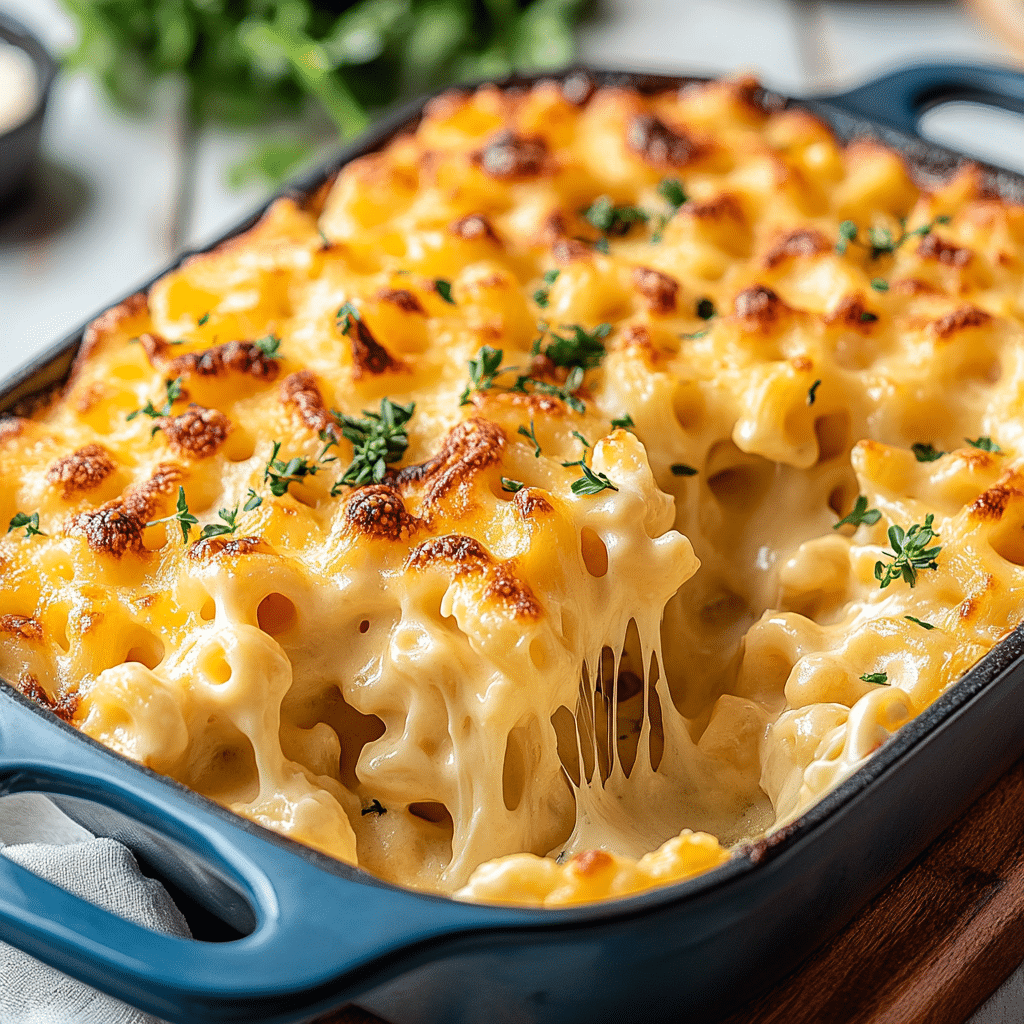
Tini’s Viral TikTok Mac and Cheese Recipe has become an instant classic for a reason. It combines simplicity, rich flavors, and a creamy texture that makes it stand out from other mac and cheese recipes. Whether you’re making it for a special occasion or just a cozy meal at home, this dish is sure to satisfy your comfort food cravings. Follow the steps, try the variations, and enjoy the cheesy goodness!
Print
Tini’s Viral TikTok Mac and Cheese Recipe
- Total Time: 25 minutes
- Yield: Serves 4-6 1x
Description
This creamy, cheesy mac and cheese recipe has taken TikTok by storm! Loaded with three types of cheese and topped with crispy breadcrumbs, it’s the perfect comfort food for any occasion.
Ingredients
- 2 cups elbow macaroni
- 4 tablespoons unsalted butter
- 2 tablespoons all-purpose flour
- 2 cups whole milk
- 2 cups sharp cheddar cheese
- 2 cups mozzarella cheese
- 2 cups parmesan cheese
- 1/2 cup sour cream
- 1 teaspoon garlic powder
- Salt and pepper to taste
- Breadcrumbs (optional)
Instructions
- Cook the elbow macaroni according to the package directions. Drain and set aside.
- In a saucepan, melt the butter over medium heat. Once melted, whisk in the flour and cook for 2 minutes to form a roux.
- Gradually add the milk while whisking constantly until the sauce thickens.
- Stir in the cheddar, mozzarella, and parmesan cheeses until melted and smooth.
- Add sour cream, garlic powder, salt, and pepper. Stir to combine.
- Add the cooked macaroni to the sauce, mixing to coat the pasta evenly.
- Optionally, sprinkle breadcrumbs on top and broil for 2-3 minutes until golden and crispy.
- Serve and enjoy!
Notes
- For extra creaminess, feel free to use half-and-half or heavy cream instead of whole milk.
- You can skip the breadcrumbs if you prefer a smooth, creamy texture.
- Prep Time: 10 minutes
- Cook Time: 15 minutes
- Category: Main Dish, Comfort Food
- Method: Stovetop, Broiling (optional)
- Cuisine: American

