Indulge your sweet tooth with our mouthwatering Carmelitas recipe! With layers of gooey caramel, rich chocolate, and buttery oats, this dessert is pure bliss. Learn how to make it, plus get tips for serving, storage, FAQs, and more!
Keywords: Carmelitas recipe, dessert recipe, caramel chocolate bars, oatmeal dessert, sweet treats
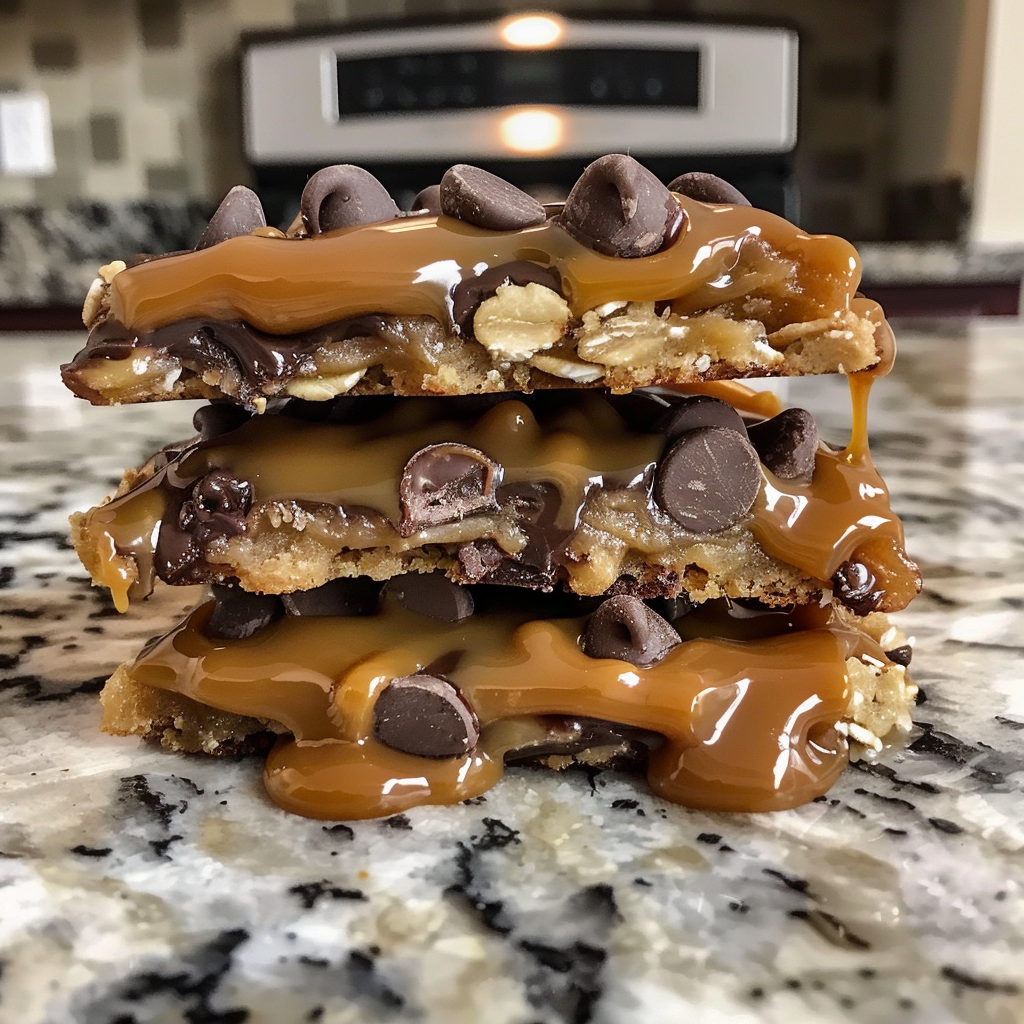
Introduction: Get ready to experience dessert nirvana with our delectable Carmelitas recipe. These irresistible bars are a heavenly combination of buttery oats, creamy caramel, and indulgent chocolate. Whether you’re craving a decadent treat for a special occasion or simply want to satisfy your sweet tooth, Carmelitas are sure to impress.
Ingredients:
- 1 cup (2 sticks) unsalted butter, melted
- 1 cup packed brown sugar
- 1 ½ cups all-purpose flour
- 1 ½ cups old-fashioned oats
- 1 teaspoon baking soda
- 1 cup semi-sweet chocolate chips
- 1 cup caramel sauce or dulce de leche
- ½ teaspoon salt
- 1 teaspoon vanilla extract
Instructions:
- Preheat your oven to 350°F (175°C). Grease a 9×9-inch baking dish and line it with parchment paper, leaving an overhang for easy removal.
- In a large mixing bowl, combine melted butter, brown sugar, flour, oats, baking soda, and salt. Mix until well combined.
- Press half of the oat mixture evenly into the bottom of the prepared baking dish.
- Bake the crust in the preheated oven for 10 minutes.
- Remove the crust from the oven and sprinkle chocolate chips evenly over the hot crust.
- Drizzle caramel sauce or dulce de leche over the chocolate chips.
- Crumble the remaining oat mixture evenly over the caramel layer.
- Return the baking dish to the oven and bake for an additional 15-20 minutes, or until the top is golden brown.
- Allow the Carmelitas to cool completely in the baking dish before slicing into bars.
- Serve and enjoy these decadent treats!
12 Servings Tips:
- Serve Carmelitas warm with a scoop of vanilla ice cream for an extra indulgent dessert.
- Sprinkle chopped nuts, such as pecans or walnuts, over the caramel layer for added crunch.
- Customize the recipe by using different types of chocolate chips, such as milk chocolate or dark chocolate.
- Drizzle melted chocolate over the cooled bars for an elegant presentation.
- Garnish with a sprinkle of sea salt for a sweet and salty flavor contrast.
- Cut Carmelitas into smaller squares for bite-sized treats perfect for parties or gatherings.
- Pair with a hot cup of coffee or tea for a delightful afternoon pick-me-up.
- Experiment with flavored caramel sauces, such as salted caramel or bourbon caramel, for unique twists.
- Make a larger batch and freeze individually wrapped bars for convenient grab-and-go snacks.
- Add a layer of sliced bananas or strawberries between the caramel and oat layers for a fruity variation.
- Dust with powdered sugar before serving for a touch of elegance.
- Pack Carmelitas in airtight containers for picnics or lunchbox treats.
12 Storage Tips:
- Store leftover Carmelitas in an airtight container at room temperature for up to 3-4 days.
- To maintain freshness, place a sheet of parchment paper between layers of bars.
- For longer storage, refrigerate Carmelitas for up to one week.
- Allow refrigerated bars to come to room temperature before serving for best texture.
- To freeze, wrap individual bars tightly in plastic wrap and place them in a freezer-safe container.
- Frozen Carmelitas can be stored for up to 2-3 months.
- Thaw frozen bars in the refrigerator overnight before serving.
- For a quick thaw, place frozen bars on a microwave-safe plate and heat in 10-second intervals until warmed through.
- Avoid storing Carmelitas in direct sunlight or near heat sources to prevent melting.
- If desired, reheat refrigerated or frozen bars in the oven at 300°F (150°C) for a few minutes until warmed through.
- For a gooey texture, microwave individual bars for a few seconds before serving.
- Enjoy Carmelitas at room temperature or slightly warmed for the best flavor experience.
12 FAQs:
- Can I use store-bought caramel sauce for this recipe?
- Yes, store-bought caramel sauce works well, but homemade caramel sauce can provide a richer flavor.
- Can I substitute quick oats for old-fashioned oats?
- While quick oats can be used, old-fashioned oats provide a better texture and chewiness.
- Can I make Carmelitas gluten-free?
- Yes, simply substitute gluten-free all-purpose flour and ensure all other ingredients are gluten-free.
- Can I add other mix-ins, like shredded coconut or dried fruit?
- Absolutely! Feel free to customize Carmelitas with your favorite mix-ins for added flavor and texture.
- Can I use salted butter instead of unsalted butter?
- Yes, but adjust the amount of added salt in the recipe accordingly to avoid over-salting.
- Can I make Carmelitas in advance?
- Yes, Carmelitas can be made ahead of time and stored in an airtight container until ready to serve.
- How do I prevent the bars from sticking to the pan?
- Using parchment paper and greasing the baking dish helps prevent sticking and allows for easy removal.
- Can I use caramel candies instead of caramel sauce?
- Yes, melt caramel candies with a splash of cream to create a caramel sauce for the recipe.
- Can I double the recipe for a larger batch?
- Absolutely! Simply double the ingredients and use a larger baking dish for baking.
- Can I use a different type of pan, like a 9×13-inch baking dish?
- Yes, but adjust baking times accordingly to ensure even cooking.
- Can I reheat Carmelitas in the microwave?
- Yes, microwave individual bars for a few seconds until warmed through.
- Can I add a layer of peanut butter to the bars?
- Yes, spread a thin layer of peanut butter over the baked crust before adding the chocolate and caramel layers for a delicious twist.
Conclusion:
Satisfy your sweet cravings with our irresistible Carmelitas recipe. With layers of buttery oats, creamy caramel, and rich chocolate, these bars are a decadent treat that’s perfect for any occasion. Whether you’re indulging in a solo snack or sharing with friends and family, Carmelitas are sure to be a hit. Plus, with our serving tips, storage suggestions, and FAQs, you’ll have all the tools you need to create these delicious treats like a pro. Try them today and experience pure dessert bliss!