Introduction:
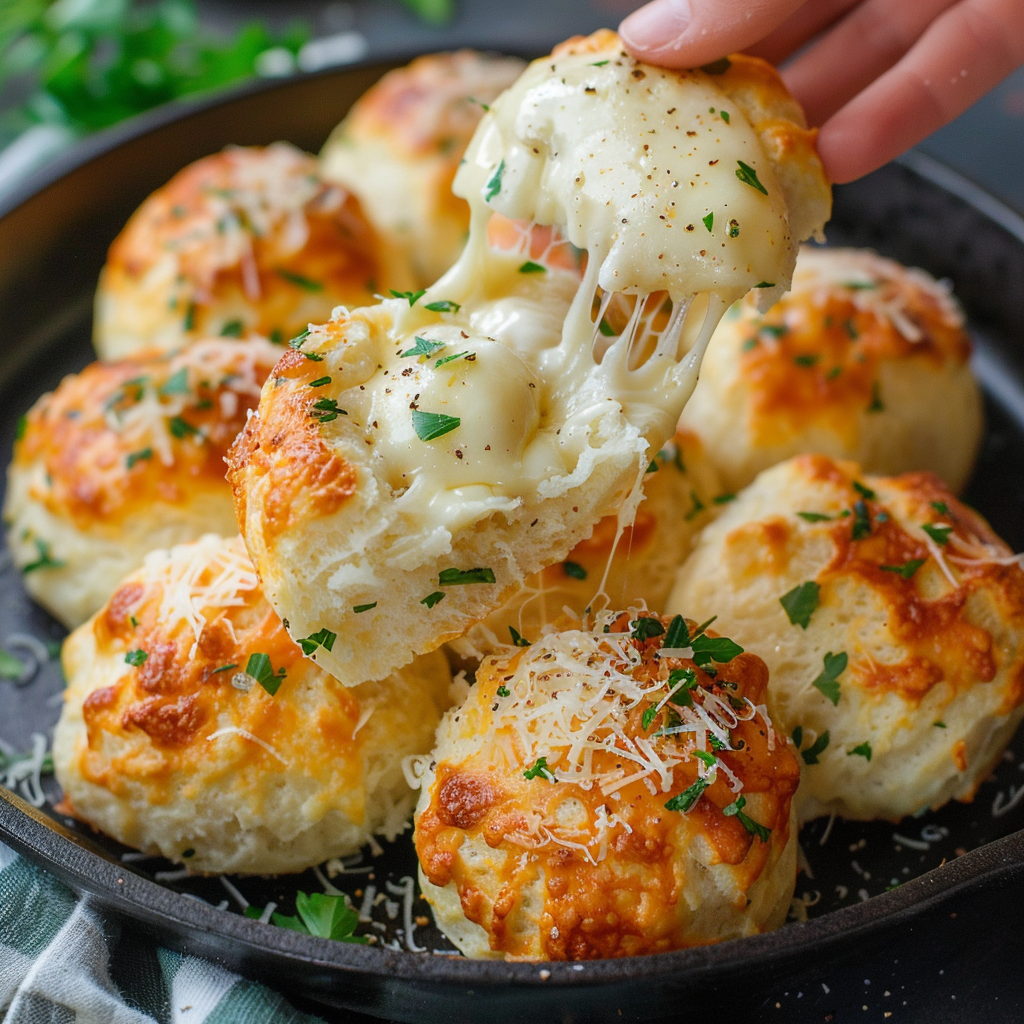
Elevate your snack game with Easy Garlic Cheese Bombs, a delightful combination of fluffy bread, savory garlic butter, and gooey melted cheese. These irresistible bites are perfect for serving as an appetizer, snack, or side dish, and they’re sure to be a hit with family and friends. In this SEO article, we’ll explore how to make these flavorful Garlic Cheese Bombs and why they deserve a spot on your menu.
Ingredients:
- 1 tube (16.3 ounces) refrigerated biscuit dough (8 count)
- 4 ounces mozzarella cheese, cut into 8 cubes
- 4 tablespoons unsalted butter, melted
- 2 cloves garlic, minced
- 1 tablespoon fresh parsley, finely chopped
- 1/4 teaspoon salt
- 1/4 teaspoon black pepper
- Grated Parmesan cheese, for topping (optional)
Instructions:
Preheat the Oven:
- Preheat your oven to 375°F (190°C). Line a baking sheet with parchment paper or lightly grease it with cooking spray.
Prepare the Biscuit Dough:
- Separate the biscuit dough into 8 pieces. Flatten each piece of dough into a circle with your hands.
Assemble the Garlic Cheese Bombs:
- Place a cube of mozzarella cheese in the center of each flattened biscuit dough round.
- Carefully fold the edges of the dough up and over the cheese, pinching to seal tightly. Roll the dough between your palms to form a smooth ball.
Make the Garlic Butter Coating:
- In a small bowl, combine the melted butter, minced garlic, chopped parsley, salt, and black pepper. Mix until well combined.
Coat the Cheese Bombs:
- Dip each cheese-filled dough ball into the garlic butter mixture, coating it thoroughly. Allow any excess butter to drip off.
Bake the Garlic Cheese Bombs:
- Place the coated cheese bombs on the prepared baking sheet, spacing them evenly apart.
- If desired, sprinkle grated Parmesan cheese on top of each cheese bomb for extra flavor.
- Bake in the preheated oven for 12-15 minutes or until golden brown and cooked through.
Serve and Enjoy:
- Remove the Garlic Cheese Bombs from the oven and let them cool slightly before serving.
- Enjoy these warm and cheesy delights on their own or with your favorite dipping sauce.
Serving Suggestions:
- Serve Easy Garlic Cheese Bombs warm for the best flavor and texture. The melted cheese and garlic butter are most enjoyable when freshly baked.
- Arrange the Garlic Cheese Bombs on a serving platter or in a basket lined with parchment paper for an inviting presentation.
- Provide marinara sauce or ranch dressing on the side for dipping, enhancing the flavor experience.
Storage Guidelines:
- Store any leftover Garlic Cheese Bombs in an airtight container in the refrigerator for up to 2-3 days.
- To maintain their freshness and prevent them from becoming soggy, place a paper towel in the container to absorb excess moisture.
- Avoid stacking the Garlic Cheese Bombs on top of each other to prevent them from sticking together.