INTRODUCTION
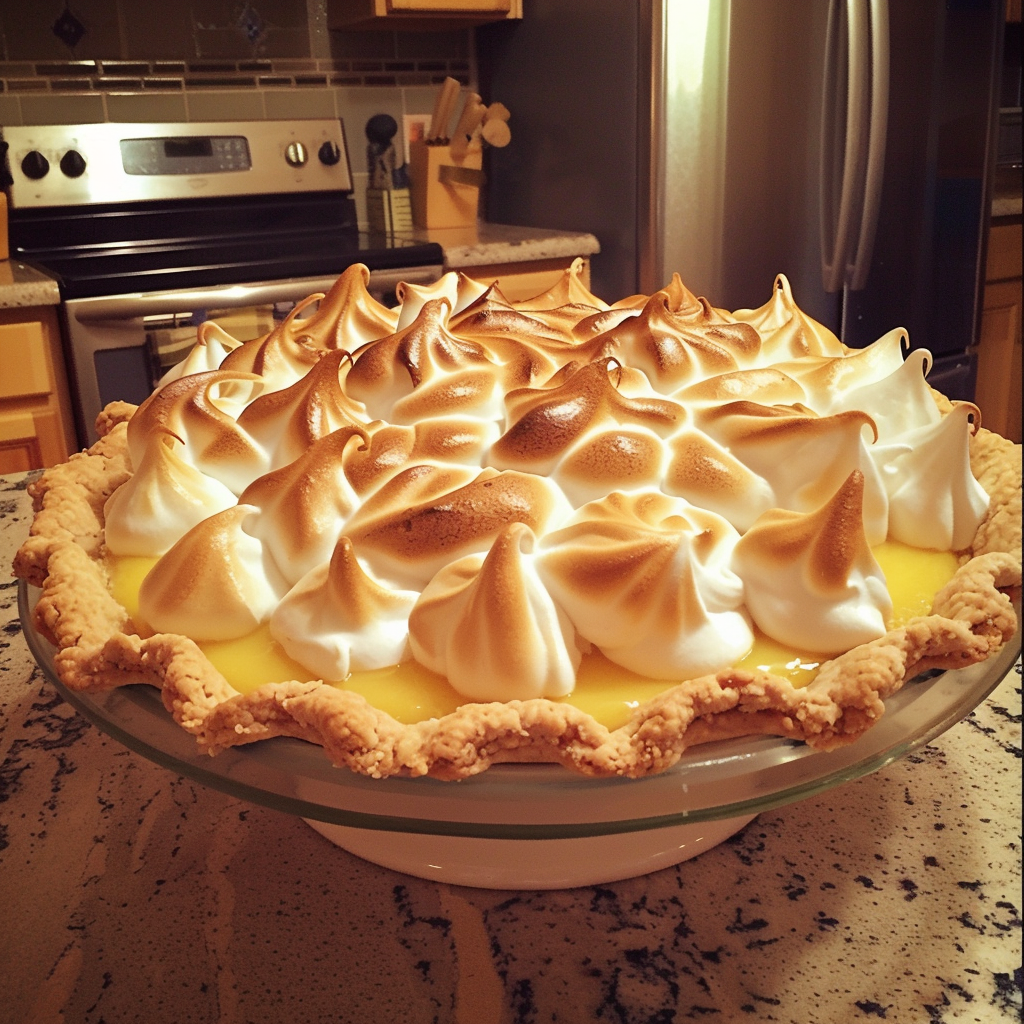
Discover the perfect balance of tangy citrus and fluffy meringue with our Homemade Lemon Meringue Pie recipe. This classic dessert is a symphony of flavors and textures, featuring a zesty lemon filling nestled in a flaky pie crust and topped with billowy peaks of golden meringue. Whether you’re hosting a gathering or simply craving a slice of sunshine, our Homemade Lemon Meringue Pie is sure to brighten any occasion and leave you craving for more. Join us as we unlock the secrets to creating this timeless dessert from scratch and elevate your pie-making skills to new heights.
Ingredients:
- 1 pre-baked 9-inch pie crust
- 1 1/4 cups granulated sugar
- 1/3 cup cornstarch
- 1/4 teaspoon salt
- 1 1/2 cups water
- 1/2 cup fresh lemon juice
- 2 tablespoons lemon zest
- 4 large egg yolks
- 2 tablespoons unsalted butter
- 4 large egg whites
- 1/4 teaspoon cream of tartar
- 1/2 cup granulated sugar
Instructions:
- In a medium saucepan, whisk together sugar, cornstarch, and salt. Gradually whisk in water, lemon juice, and lemon zest until smooth.
- Cook over medium heat, stirring constantly, until mixture comes to a boil and thickens, about 5-7 minutes.
- Remove from heat. In a small bowl, lightly beat egg yolks. Gradually whisk in about 1/2 cup of the hot lemon mixture to temper the eggs.
- Gradually whisk tempered egg mixture back into saucepan. Return to heat and cook, stirring constantly, for an additional 2 minutes.
- Remove from heat and stir in butter until melted and incorporated.
- Pour lemon filling into pre-baked pie crust. Set aside to cool slightly while preparing meringue.
- Preheat oven to 350°F (175°C). In a clean mixing bowl, beat egg whites and cream of tartar on high speed until soft peaks form.
- Gradually add sugar, 1 tablespoon at a time, beating on high speed until stiff peaks form and sugar is dissolved.
- Spread meringue evenly over warm lemon filling, sealing edges to crust to prevent shrinking.
- Bake for 12-15 minutes or until meringue is lightly golden brown.
- Cool pie on a wire rack for 1 hour, then refrigerate for at least 3 hours before serving.
- Slice and enjoy your Homemade Lemon Meringue Pie!
12 Serving Tips:
- Serve slices of Homemade Lemon Meringue Pie chilled for a refreshing treat.
- Garnish each slice with a twist of lemon zest for a burst of citrus aroma.
- Pair with a dollop of whipped cream or a scoop of vanilla ice cream for added indulgence.
- Dust slices with powdered sugar just before serving for an elegant finish.
- Add a sprinkle of finely grated lemon zest to the meringue before baking for extra flavor.
- Serve alongside fresh berries or a fruit compote for a vibrant contrast.
- Drizzle slices with additional lemon curd or lemon syrup for an extra lemony kick.
- Top with toasted coconut flakes or chopped nuts for added texture and crunch.
- Accompany slices with a hot cup of tea or coffee for a delightful dessert experience.
- For an extra-special touch, torch the meringue lightly with a kitchen torch before serving for a caramelized finish.
- Customize the pie crust by using a graham cracker crust or a shortbread crust for added flavor.
- Experiment with different citrus fruits such as lime or orange to create unique variations of this classic pie.
12 Storage Tips:
- Store leftover Homemade Lemon Meringue Pie in the refrigerator, covered with plastic wrap or aluminum foil, for up to 3 days.
- To prevent the meringue from weeping, store the pie on a flat surface and avoid stacking other items on top.
- If storing in the refrigerator for more than a day, place toothpicks around the edge of the meringue to prevent it from sticking to the plastic wrap.
- For longer storage, tightly wrap the pie in plastic wrap and aluminum foil and freeze for up to 2-3 months.
- Thaw frozen pie in the refrigerator overnight before serving.
- To refresh the meringue, place slices under the broiler for a few seconds until lightly golden brown.
- Keep the pie away from strong-smelling foods in the refrigerator to prevent absorbing odors.
- Label the storage container with the date to keep track of freshness.
- For individual servings, cut slices and store them in airtight containers to maintain freshness.
- Avoid placing the pie in the freezer door, as it may be exposed to temperature fluctuations.
- If the meringue becomes soft or sticky, lightly dust it with cornstarch to absorb moisture before storing.
- Enjoy leftover pie for breakfast or as a sweet snack throughout the day.
FAQs (Frequently Asked Questions):
- Can I use store-bought pie crust instead of making one from scratch?
- Can I substitute bottled lemon juice for fresh lemon juice?
- How do I prevent the meringue from shrinking or weeping?
- Can I make the lemon filling in advance and refrigerate it before assembling the pie?
- Can I use a torch to brown the meringue instead of baking it?
- How do I know when the meringue is stiff enough to spread over the filling?
- Can I use a different type of sugar for the meringue, such as powdered sugar?
- Can I use lemon extract instead of lemon zest for the filling?
- How do I prevent the pie crust from becoming soggy?
- Can I add flavorings such as vanilla extract or almond extract to the meringue?
- Can I make individual mini pies instead of one large pie?
- How do I store leftover meringue if I have any unused portion?
Conclusion:
In conclusion, Homemade Lemon Meringue Pie is a timeless dessert that embodies the perfect balance of tart lemon filling and fluffy meringue topping. With its crisp pie crust and luscious lemony filling, this pie is sure to become a favorite among family and friends. By following our easy-to-follow recipe, serving tips, and storage guidelines, you can create a stunning Homemade Lemon Meringue Pie that will impress even the most discerning palates. So treat yourself to a slice of sunshine and indulge in the delightful flavors of this classic dessert today!