Introduction:
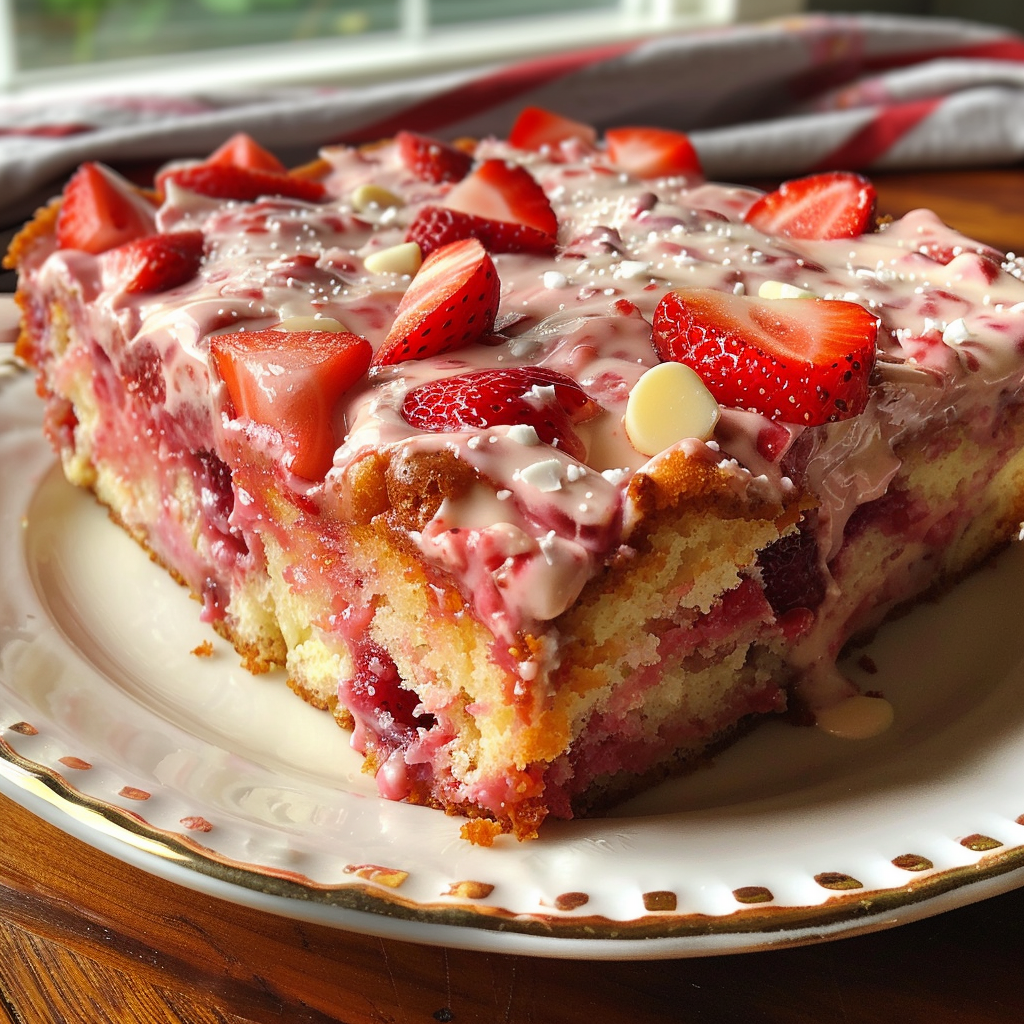
Indulge your taste buds with a delectable dessert that’s sure to make waves at any gathering. The Strawberry Earthquake Cake is a delightful twist on the classic Earthquake Cake, featuring a burst of strawberry flavor combined with rich cream cheese and coconut, all atop a moist and tender cake base. Whether you’re celebrating a special occasion or simply craving a sweet treat, this recipe is guaranteed to satisfy your dessert cravings. Let’s dive into the details of how to create this heavenly delight in your own kitchen.
Ingredients:
- 1 box white cake mix
- Ingredients required by cake mix (usually water, oil, and eggs)
- 1 cup strawberries, chopped
- 1 package (8 oz) cream cheese, softened
- 1/2 cup unsalted butter, melted
- 4 cups powdered sugar
- 1 teaspoon vanilla extract
- 1/2 cup coconut flakes
- 1/2 cup white chocolate chips
Directions:
- Preheat oven to 350°F (175°C). Grease a 9×13 inch baking dish.
- Prepare the cake mix according to package instructions. Gently fold in the chopped strawberries. Pour the batter into the prepared baking dish.
- In a medium bowl, beat together the cream cheese, butter, powdered sugar, and vanilla extract until smooth. Drop spoonfuls of this mixture over the cake batter.
- Sprinkle coconut flakes and white chocolate chips over the top.
- Bake for 40-45 minutes, or until the cake is set and the edges are golden brown.
- Allow the cake to cool before serving. The top will have a beautiful cracked, earthquake effect with delicious pockets of cream cheese and strawberry.
- Prep Time: 20 minutes | Cooking Time: 45 minutes | Total Time: 1 hour 5 minutes
- Kcal: 520 kcal | Servings: 12 servings
Serving Tips:
- Allow to Cool Before Serving: After baking, allow the Strawberry Earthquake Cake to cool in the baking dish for at least 15-20 minutes before slicing. This helps the flavors to settle and makes for easier serving.
- Slice with Care: When ready to serve, use a sharp knife to carefully slice the cake into squares or rectangles. Wiping the knife with a damp cloth between cuts can help ensure clean slices.
- Garnish for Presentation: For an extra touch of elegance, garnish each slice of cake with a fresh strawberry on top just before serving. This not only adds visual appeal but also enhances the strawberry flavor.
- Serve with Whipped Cream or Ice Cream: Consider serving each slice of Strawberry Earthquake Cake with a dollop of whipped cream or a scoop of vanilla ice cream for added indulgence. The creamy topping pairs perfectly with the rich flavors of the cake.
- Pair with Coffee or Tea: This cake pairs beautifully with a cup of freshly brewed coffee or a pot of hot tea. The combination of sweet strawberry flavors and warm beverages makes for a delightful treat.
Storage Tips:
- Refrigerate Leftovers: If you have any leftover cake, cover the baking dish tightly with plastic wrap or transfer individual slices to an airtight container. Store the cake in the refrigerator to keep it fresh.
- Consume Within a Few Days: While the cake will keep well in the refrigerator, it’s best enjoyed within 2-3 days to maintain its freshness and flavor. Be sure to consume any leftovers promptly.
- Reheat Before Serving: If serving leftover cake, you can gently reheat individual slices in the microwave for a few seconds or in a preheated oven at a low temperature until warmed through. This helps to restore the cake’s moisture and texture.
- Freezing Option: While this cake can be frozen, it’s best to freeze individual slices rather than the entire cake. Wrap each slice tightly in plastic wrap and then aluminum foil before placing them in a freezer-safe container. Thaw slices overnight in the refrigerator before reheating or serving.
- Refresh if Needed: If the cake seems slightly dry after storage, you can revive its moisture by drizzling a little strawberry syrup or fruit compote over the top before serving. This adds extra flavor and helps to keep the cake moist.
FAQs:
- Can I use fresh strawberries instead of strawberry cake mix?
- While fresh strawberries can add a delightful flavor to desserts, substituting them for the cake mix may alter the texture and consistency of the cake. However, you can enhance the strawberry flavor by adding chopped fresh strawberries to the cake batter or serving them as a garnish.
- What can I use if I don’t have sweetened shredded coconut?
- If you don’t have sweetened shredded coconut on hand, you can use unsweetened shredded coconut instead. You may want to add a little extra sugar to the cake batter to compensate for the lack of sweetness in the coconut.
- Can I make this cake ahead of time for a special occasion?
- Yes, you can prepare the Strawberry Earthquake Cake ahead of time for convenience. Simply bake the cake as directed, allow it to cool completely, and then store it in the refrigerator until you’re ready to serve. It’s best enjoyed within a few days of baking for optimal freshness.
- Can I use different nuts in the cake?
- Absolutely! While pecans or walnuts are commonly used in this recipe, you can substitute them with your favorite nuts such as almonds, pistachios, or hazelnuts. Just ensure they are chopped to a similar size for even distribution throughout the cake.
- Is it possible to make this cake gluten-free?
- Yes, you can make a gluten-free version of Strawberry Earthquake Cake by using a gluten-free strawberry cake mix and ensuring that all other ingredients, including the nuts and coconut, are certified gluten-free. This allows individuals with gluten sensitivities or allergies to enjoy this delicious dessert without any worries.