
Introduction:
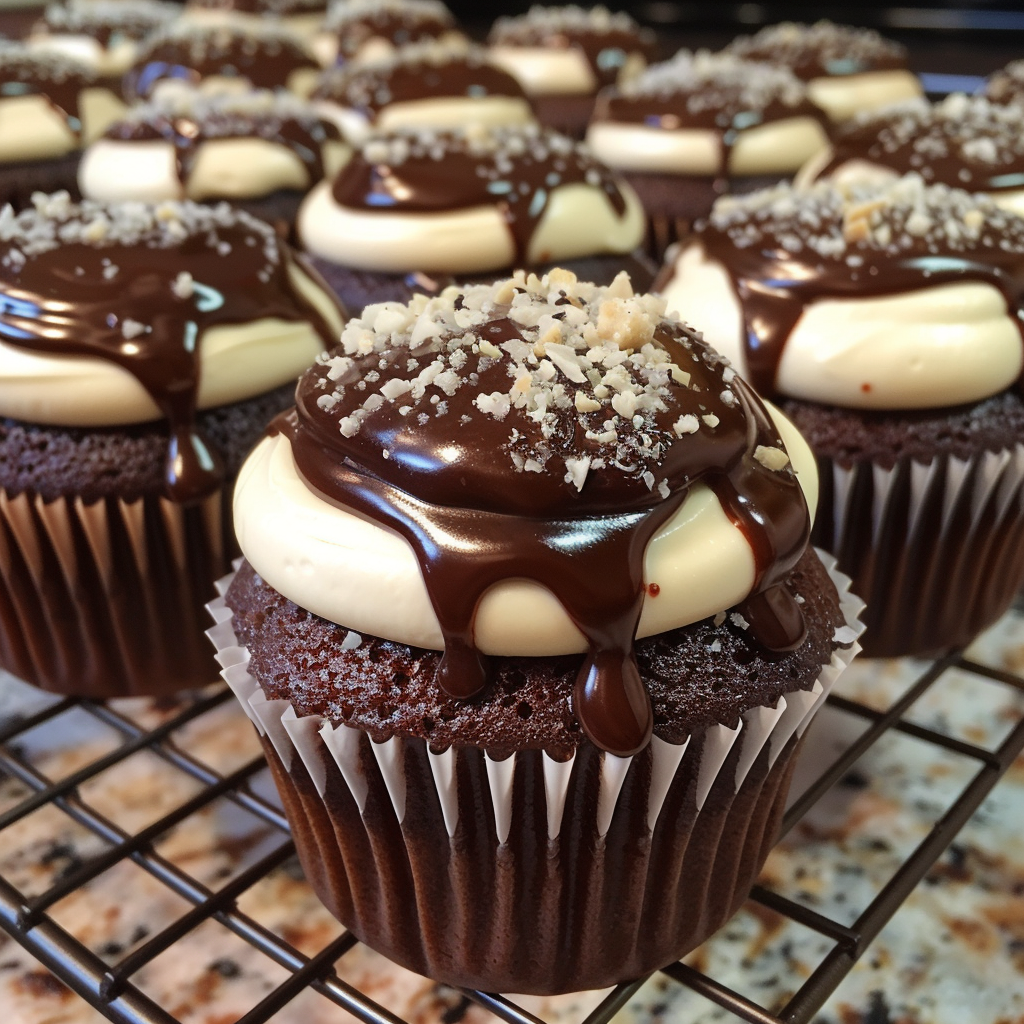
Remember the joy of unwrapping a Hostess Cupcake as a special treat? Now, you can bring that nostalgic delight to your kitchen with our Homemade Hostess Cupcakes recipe! These iconic treats feature moist chocolate cake, a creamy filling, and a rich chocolate ganache topping, creating a perfect balance of flavors and textures. Whether enjoyed as an afternoon snack or served as a dessert at your next gathering, these homemade cupcakes are sure to evoke fond memories and satisfy your sweet tooth. Join us as we embark on a journey to recreate this classic favorite with a homemade twist!
Ingredients:
– For the Chocolate Cupcakes:
- 1 cup all-purpose flour
- 1/2 cup unsweetened cocoa powder
- 1 cup granulated sugar
- 1 teaspoon baking powder
- 1/2 teaspoon baking soda
- 1/2 teaspoon salt
- 1/2 cup milk
- 1/4 cup vegetable oil
- 1 large egg
- 1 teaspoon vanilla extract
- 1/2 cup boiling water
– For the Cream Filling:
- 1/2 cup unsalted butter, softened
- 2 cups powdered sugar
- 1/2 teaspoon vanilla extract
- 2 tablespoons heavy cream
– For the Chocolate Ganache:
- 1 cup semi-sweet chocolate chips
- 1/2 cup heavy cream
- 2 tablespoons unsalted butter
Directions:
- Preheat the oven to 350°F (175°C). Line a muffin tin with cupcake liners.
- In a large mixing bowl, sift together the flour, cocoa powder, granulated sugar, baking powder, baking soda, and salt.
- Add the milk, vegetable oil, egg, and vanilla extract to the dry ingredients and beat on medium speed for 2 minutes.
- Stir in the boiling water until the batter is well combined. The batter will be thin.
- Fill each cupcake liner about two-thirds full with batter.
- Bake for 18-20 minutes, or until a toothpick inserted into the center of a cupcake comes out clean.
- Remove from the oven and allow the cupcakes to cool in the pan for 5 minutes before transferring them to a wire rack to cool completely.
- To make the cream filling, beat the softened butter in a medium mixing bowl until smooth.
- Gradually add the powdered sugar and vanilla extract, beating until smooth and creamy.
- Add the heavy cream and beat on medium-high speed for 2 minutes, until light and fluffy. Transfer the filling to a piping bag fitted with a round tip.
- Once the cupcakes are completely cooled, insert the tip of the piping bag into the center of each cupcake and gently squeeze to fill with cream.
- To make the chocolate ganache, place the chocolate chips in a heatproof bowl.
- In a small saucepan, heat the heavy cream and butter over medium heat until it begins to simmer. Pour the hot cream mixture over the chocolate chips and let sit for 2-3 minutes.
- Whisk the chocolate and cream until smooth and glossy.
- Let the ganache cool slightly before spooning it over the filled cupcakes. Allow the ganache to set before serving.
- Prep Time: 25 minutes | Cooking Time: 20 minutes | Total Time: 45 minutes
- Kcal: 280 kcal | Servings: 12 cupcakes
Serving Tips:
- Serve the Homemade Hostess Cupcakes at room temperature for the best taste and texture.
- Consider decorating the cupcakes with white frosting or icing to replicate the classic squiggle design seen on traditional Hostess Cupcakes.
- Serve the cupcakes on a decorative platter or individual dessert plates for a charming presentation.
- Accompany the cupcakes with a tall glass of milk or a cup of coffee for a delightful pairing.
- If serving at a party or gathering, place the cupcakes on a dessert table alongside other sweet treats for a festive display.
Storage Tips:
- Store any leftover Homemade Hostess Cupcakes in an airtight container at room temperature for up to 2-3 days.
- To maintain freshness, place a piece of parchment paper between each cupcake to prevent them from sticking together.
- Avoid storing the cupcakes in the refrigerator, as this can dry them out and affect their texture.
- If you prefer to store the cupcakes for longer periods, you can freeze them in an airtight container for up to 1-2 months.
- To thaw frozen cupcakes, simply transfer them to the refrigerator overnight or let them sit at room temperature for a few hours before serving.
FAQs:
- Can I use a different type of frosting for the signature squiggle design? Yes, you can use different types of frosting or icing to create the squiggle design on top of the cupcakes. White frosting, vanilla icing, or even whipped cream can be used to achieve the desired effect.
- Can I substitute any ingredients to make these cupcakes gluten-free or dairy-free? Yes, you can make adjustments to the recipe to accommodate dietary restrictions. For gluten-free cupcakes, use a gluten-free flour blend in place of all-purpose flour. For dairy-free cupcakes, use dairy-free substitutes such as almond milk, dairy-free butter, and dairy-free chocolate chips.
- Can I make the cream filling ahead of time and store it? Yes, you can prepare the cream filling ahead of time and store it in the refrigerator for up to 1-2 days. Keep it in an airtight container and give it a good stir before piping it into the cupcakes.
- How can I prevent the cupcakes from becoming dry? To prevent the cupcakes from becoming dry, be sure not to overbake them. Bake just until a toothpick inserted into the center comes out clean. Additionally, storing the cupcakes in an airtight container at room temperature can help retain their moisture.
- Can I freeze Homemade Hostess Cupcakes? Yes, you can freeze Homemade Hostess Cupcakes for longer storage. Place them in an airtight container or freezer-safe bag and freeze for up to 1-2 months. Thaw them in the refrigerator overnight before serving.
Conclusion:
With our Homemade Hostess Cupcakes recipe, you can relive cherished memories and indulge in the classic treat you know and love. From the moist chocolate cake to the creamy filling and rich chocolate ganache, each bite is a nostalgic delight. Whether enjoyed as a special treat for yourself or shared with loved ones, these homemade cupcakes are sure to bring joy to any occasion. Follow our simple steps to create your own batch of delicious Hostess Cupcakes and savor the sweet taste of nostalgia!